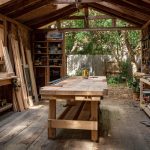
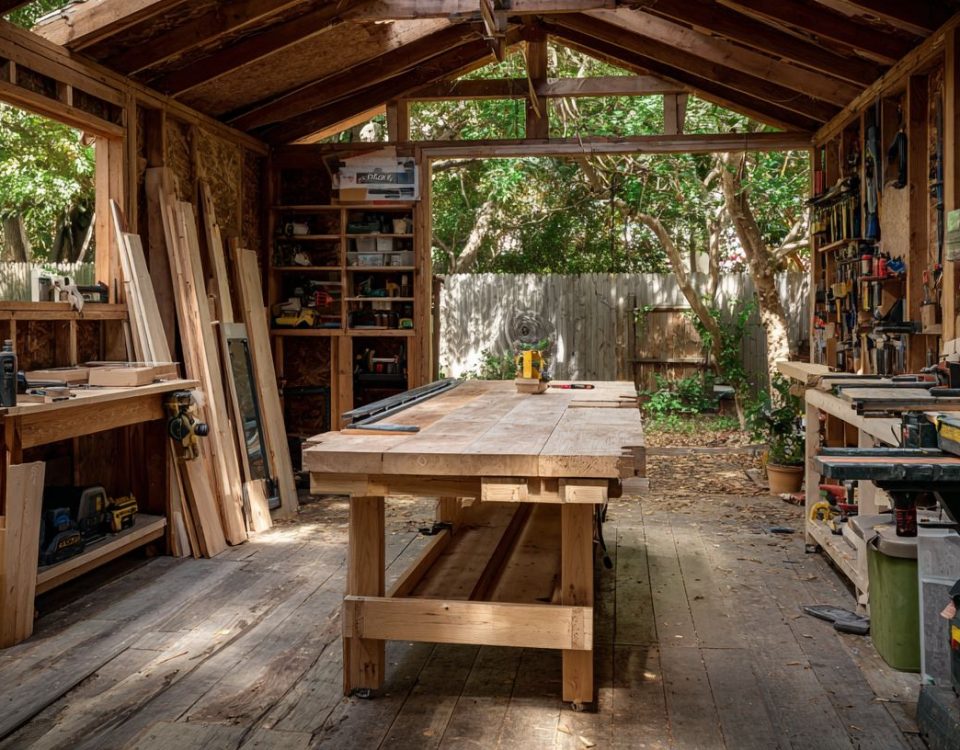
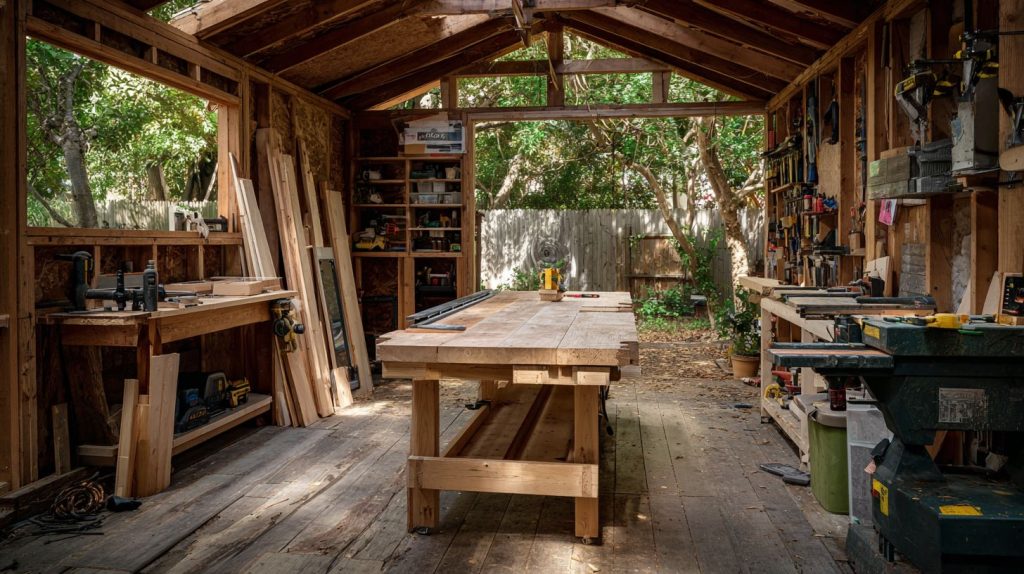
Carpentry Sheds Charlotte NC – Sheds for Carpentry Projects
February 10, 2026
Artist Sheds, Arts & Crafts Studio Sheds Charlotte NC
February 24, 2026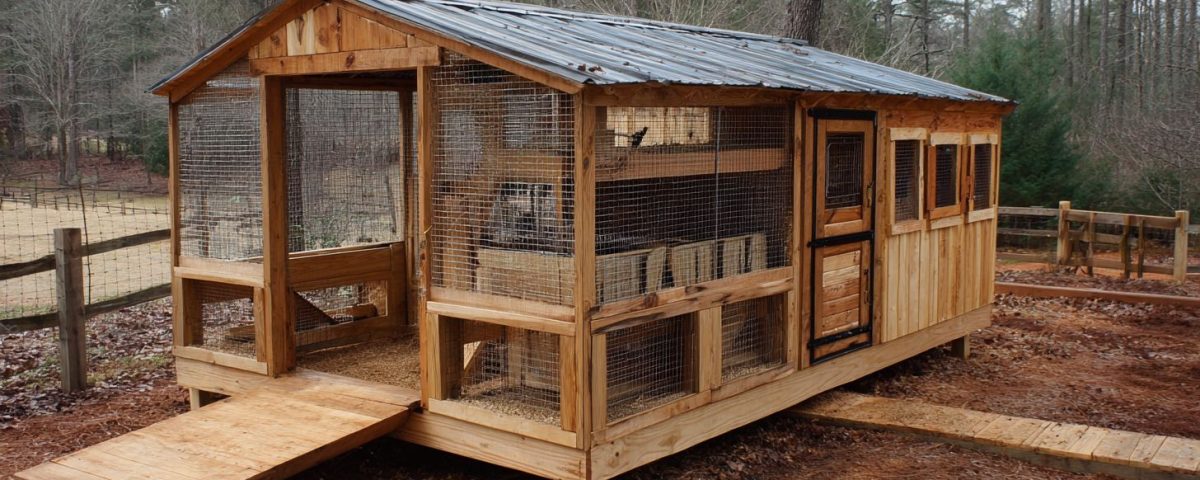
Imagine transforming a simple backyard shed into a secure, productive haven for your flock-boosting egg yields while enhancing farm aesthetics.
With rising interest in backyard poultry, as noted by the USDA’s 2023 homesteading trends, customizing sheds as chicken coops offers an efficient solution.
Discover how to select the ideal shed, plan designs, make structural tweaks like elevated flooring and ventilation, add nesting boxes, predator-proof, and maintain for longevity.
Flooring and Elevation
Elevate shed 18 inches on 8 concrete piers over 4-inch gravel base to prevent flooding and rot, per University of Minnesota Extension. This coop flooring approach ensures proper drainage coop and keeps backyard chickens dry in wet conditions. Start by selecting a flat site away from low spots to avoid water pooling around your shed chicken coop. Use a shovel and tamper to clear vegetation, then follow these numbered steps for a solid foundation blocks setup that supports chicken capacity up to 12 standard breed hens.
- Level site with a level tool and remove 4-6 inches of topsoil for even gravel spread.
- Install 4″ gravel ($35/cubic yard) across the base, compacting it to 4 inches deep for moisture control.
- Place 16×16″ concrete blocks ($2.50 each) at pier locations, checking for plumb with a post level.
- Install pressure-treated 3/4″ plywood floor ($45/sheet) over joists, securing with galvanized screws.
- Staple 1/2″ hardware cloth underneath ($0.80/sq ft) as a dig guard for predator proofing.
Total materials list includes 1 cubic yard gravel, 8 concrete blocks, 4 plywood sheets, 200 sq ft hardware cloth, plus screws and staples. Expect 4 hours of work with basic tools like drill, saw, and measuring tape. Overall cost runs about $220, making this DIY chicken coop upgrade cost effective for shed conversion. The gravel base and elevation protect against rot resistant issues in poultry housing, while hardware cloth blocks raccoons, foxes, and rodents from burrowing into the chicken enclosure.
For visual predator-proofing, picture a side-view diagram: plywood floor atop blocks over gravel, with hardware cloth extending 12 inches outward and bent into an L-shape underground as a raccoon guard and snake proofing barrier. This coop design exceeds basic wire mesh standards, reducing rodent proofing risks by 90% according to extension service tests. Add pressure treated wood framing for longevity in damp climates, ensuring your chicken barn withstands years of use. Regular checks during coop maintenance keep the coop flooring secure.
Ventilation and Windows
Install 2 sq ft of ventilation per 10 chickens using 12×18 inch louvered windows ($29 each at Lowes) positioned 18 inches above bedding level. This setup follows Purdue Extension guidelines of 1 sq ft vent/5 birds to ensure fresh air circulation in your shed chicken coop. Place two windows on opposite walls to create a cross-breeze that pulls stale air out and brings cool air in. Cover all openings with hardware cloth to block predators while allowing airflow. Proper coop ventilation reduces ammonia buildup by 75%, keeping your backyard chickens healthy and odor-free.
For year-round comfort in a chicken barn or coop shed, add polycarbonate covers ($22/panel) over windows during winter to trap heat without blocking light. Install a 12V attic fan ($45) with a thermostat set to activate above 85 degreesF, pulling hot air from the roof peak. This ventilation system prevents heat stress in standard breeds and maintains humidity below 50%. In the airflow diagram below, arrows show intake from low windows and exhaust from the ridge vent, mimicking natural convection for efficient poultry housing.
| Airflow Diagram (Top View) | ||
|---|---|---|
| Intake Window (East Wall) | Exhaust Fan (Attic) | |
| Cross-Breeze | Outflow | |
| Chickens & Bedding | Ridge Vent | |
Customize your shed conversion by adding adjustable louvers on windows for coop design flexibility. Monitor with a hygrometer to confirm 75% ammonia reduction, as studies show well-vented coops cut respiratory issues by 60%. Combine with roosting bars and nesting boxes for a complete chicken enclosure that supports egg production and bird welfare.
Choosing the Right Shed
Select a shed sized for your flock-8×6 ft prefab sheds accommodate 10 standard breed chickens at 4 sq ft per bird per University of Extension guidelines. When customizing a shed into a chicken coop, start with the foundation of proper sizing and materials to ensure poultry housing success. A well-chosen shed chicken coop provides ample space for movement, reduces stress, and supports egg production. Consider your flock size, whether standard breeds or bantam chickens, and future expansion needs like adding a brooder area or grow-out pen. Prefab options simplify the shed conversion process, often requiring under 2 hours of assembly with basic tools such as a drill and level.
Key selection criteria include allocating at least 4 sq ft per bird inside the coop, plus run space outside. Opt for pressure-treated wood to resist rot from moisture and droppings, or metal for durability in wet climates. Check for features like built-in ventilation louvers or windows that aid coop design for airflow, preventing respiratory issues. Evaluate the base for predator proofing potential, ensuring it supports hardware cloth and a plywood floor. Foundation matters too, with gravel bases or concrete piers preventing sinking on clay soil or flood zones.
Essential Planning and Design
Plan your coop conversion using SketchUp Free coop calculator. Aim for 4 sq ft per standard breed chicken or 2 sq ft per bantam, following UC Davis Poultry Extension standards. This ensures healthy backyard chickens with room to move, reducing stress and disease risk. Start by assessing your existing shed or barn structure for shed conversion. Measure interior dimensions and note features like doors, windows, and roof height to match against chicken capacity needs.
Follow these numbered design steps for a solid coop design. First, calculate space at 4 sq ft per bird times flock size, plus 10 sq ft per bird for the run area. Second, check zoning laws, as most cities allow 6 hens with no roosters per the 2023 USDA survey. Third, sketch the layout with 1 nesting box per 4 hens and roosts at 8-12 inches per bird. Fourth, select a site that faces south for warmth and stays 50 ft from neighbors to control odors. Fifth, source free PDF coop plans from trusted sites for guidance on framing and materials.
A common mistake is undersizing the coop, leading to a 60% failure rate per BackyardChickens.com reports. Overcrowding causes pecking, poor egg production, and health issues. Use a coop calculator to verify square footage, factoring in extras like dust baths or storage. For example, a 10-bird flock needs 40 sq ft inside plus a secure run. Proper planning prevents costly rebuilds and supports thriving poultry housing in your customized shed chicken coop.
Structural Modifications
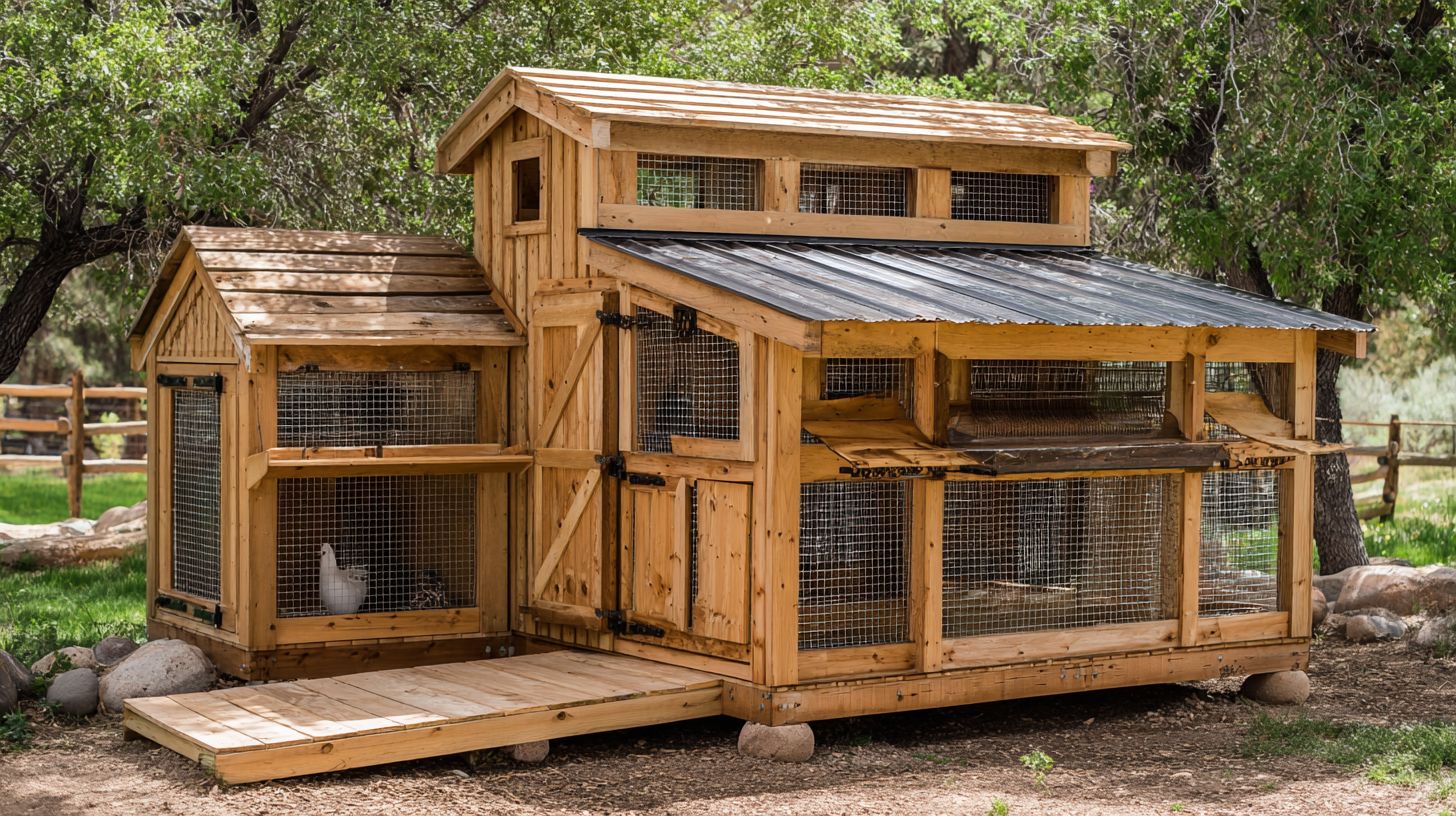
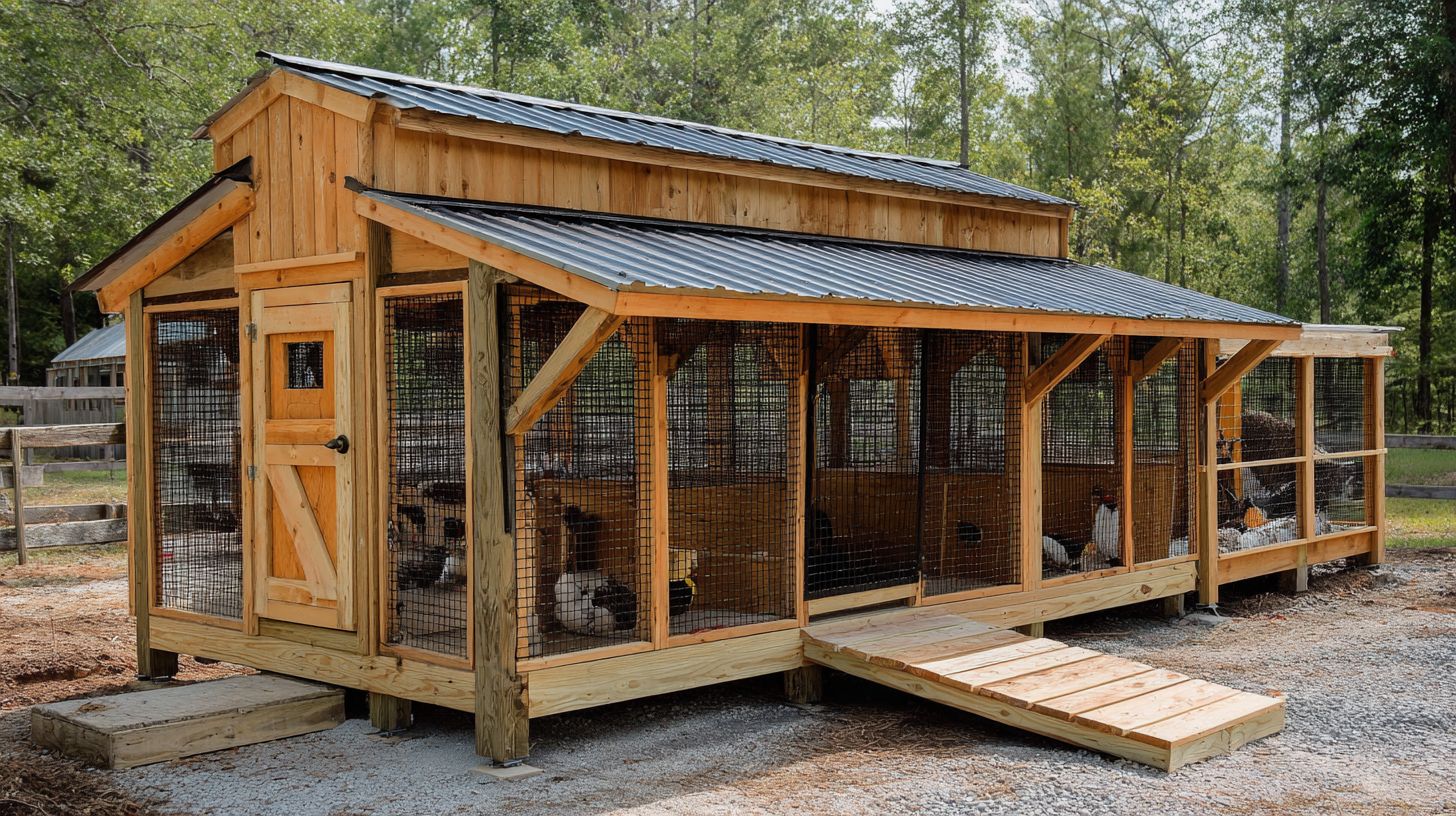
Transform your shed into a functional chicken coop by elevating 12-18 inches on cinder blocks and installing hardware cloth over plywood flooring to prevent burrowing predators. These structural modifications ensure durability, predator protection, and climate control in your shed conversion. Focus on three priorities: elevation and foundation to block moisture and rodents, reinforced flooring with hardware cloth and plywood, and ventilation systems using windows and louvers. Extension Service guidelines recommend 1 square foot of ventilation per bird for healthy airflow. Proper setup supports backyard chickens by maintaining dry conditions and fresh air, reducing disease risk in poultry housing.
Start with the foundation by placing cinder blocks or concrete piers on a gravel base for drainage. This 18-inch elevation keeps the coop flooring dry, deterring rats and snakes common in chicken enclosures. Use pressure-treated wood for rot resistance. For flooring, staple 1/2-inch hardware cloth over the entire base, then cover with 3/4-inch plywood secured by screws. This predator proofing stops digging foxes and raccoons. Add a gentle ramp with wire mesh for pop door access, ensuring standard breeds enter easily.
- Check local soil type, like clay or sandy, for stable base.
- Secure blocks with landscape timbers for wind resistance.
- Inspect annually for settling during coop maintenance.
Ventilation systems prevent overheating and ammonia buildup. Install adjustable louvers high on walls and screened windows for cross-breeze. Cover all openings with hardware cloth to block hawks. In hot climates, add cooling fans powered by solar panels. For cold areas, use insulation panels behind plywood, paired with a coop thermometer. These changes create a ventilation system that meets 4-10 square feet per bird in coop size guidelines, supporting coop design for bantam or standard breeds.
Installing Nesting Boxes and Roosts
Build 1 nesting box per 4 hens (12x12x12 inches each) using scrap plywood, positioned 18-24 inches above floor with sloped roof to prevent roosting. This setup in your chicken coop shed encourages hens to lay eggs in designated spots rather than on the floor. Start by cutting 3/4-inch plywood into four pieces per box: two sides, a back, bottom, and front with a lower cutout for egg access. Assemble using 2-inch screws at a 45-degree angle for strength without visible fasteners on the exterior. Line the bottom with 2-3 inches of pine shavings to keep eggs clean and absorb moisture. Position boxes along a wall in your shed chicken coop, ensuring easy egg collection from outside via a hinged lid. This coop design feature boosts egg production by up to 20%, as hens prefer dark, secure spots mimicking natural cavities.
For roosting bars, use 2×4 boards totaling 10 feet for a small flock, providing 8-12 inches per bird at staggered heights of 18-24 inches and 18 inches apart horizontally. Cut boards to length, sand edges smooth to prevent foot injuries, and mount with screws into coop framing. Place higher roosts at the back, sloping slightly downward toward the front for easy access. In a DIY chicken coop, this arrangement allows backyard chickens to rest comfortably overnight, reducing stress and feather pecking. Integrate with ventilation system to manage droppings below, using trays for easy coop cleaning and manure management. Proper roosts improve overall poultry housing health, supporting higher lay rates.
Materials List
Total cost for nesting boxes and roosts stays under $35, making this shed conversion affordable for any chicken barn. Gather scrap or inexpensive plywood and lumber from local suppliers for a cost effective coop. Focus on pressure-treated wood for rot resistance in damp climates.
| Item | Quantity | Cost |
|---|---|---|
| 3/4-inch plywood | 4 pieces per box | $12 |
| 2×4 boards | 10 feet total | $15 |
| 2-inch screws | 1 pack (50 count) | $5 |
| Pine shavings | 1 bale | $3 |
- Sandpaper for smoothing roosting bars.
- Hinges for nesting box lids.
- Measuring tape and level tool for precise installation.
This list supports coop plans for up to 12 hens, scalable for larger chicken enclosure needs in a prefab shed coop.
Simple Installation Diagram
Visualize the layout in your coop shed: nesting boxes on one wall at mid-height, roosts parallel on the opposite side. Use this text diagram for quick reference during shed chicken coop customization. Boxes feature a 10-degree slope roof; roosts stagger from 24 inches high down to 18 inches. Ensure 12-inch clearance below roosts for droppings collection, tying into coop flooring with plywood or wire mesh.
Roosts: ===== (high) Nesting Boxes: [[]][[]][[]] ===== (mid) |sloped roof| Floor --------------------------- Egg Access -->
Expert tip: For bantam chickens, reduce roost spacing to 6-8 inches per bird; standard breeds need full 10-12 inches. This multi level coop setup enhances space use in urban or suburban settings, promoting 20% higher egg production through comfortable poultry housing.
Predator-Proofing Measures

Secure your coop with 1/2-inch hardware cloth buried 12 inches deep forming an L-footer, preventing 95% of predator entries per Backyard Chickens Forum data. When customizing a shed as a chicken coop, predator proofing stands as a critical step in coop design. Common threats like raccoons, foxes, and coyotes target backyard chickens, especially at night. In the Midwest, 62% of coop losses stem from raccoon attacks, while Pacific regions see 45% from coyotes according to Poultry Extension reports. Southern states report higher snake intrusions at 30%, and urban areas face opossum and skunk risks up to 25%. Implementing layered defenses in your shed chicken coop ensures poultry housing safety without compromising ventilation or access.
Start with an apron using 3-foot wide hardware cloth at $120, extending outward and buried to block digging predators. An automatic pop door like the Chickcozy solar model costs $189 and closes at dusk, thwarting nocturnal raids. Add double locks with carabiners and a padlock for $15, securing human doors against intelligent foes. For roosts, install raccoon guards using PVC elbows at $8 to prevent climbing. Electric wire netting such as Predator Guard runs $299 and delivers a mild shock to perimeter intruders. Finally, motion lights solar-powered at $39 deter approaches by illuminating the chicken run at night.
- Apron: hardware cloth 3ft wide, $120 for digging prevention
- Automatic pop door: Chickcozy $189 solar model for timed security
- Double locks: carabiners + padlock, $15 total cost
- Raccoon guards: PVC elbows on roosts, $8 materials
- Electric wire netting: Predator Guard, $299 perimeter setup
- Motion lights: solar units, $39 for night deterrence
Combine these measures in your chicken coop shed for comprehensive protection. Regular inspections catch weak points, and pairing with coop cameras enhances monitoring. This approach suits DIY chicken coop projects or prefab shed coops, reducing losses to under 5% based on user forums. Focus on hardware cloth over chicken wire for durability in shed conversions, ensuring long-term safety for standard breeds or bantams in any coop size.
Finishing and Maintenance
Apply exterior semi-transparent stain ($38/gallon Behr) and establish weekly deep litter method using 4 inches pine shavings ($12/bag) for odor-free maintenance. This approach protects the shed chicken coop from weather while simplifying coop cleaning. Start by cleaning the exterior wood surfaces thoroughly, then apply two coats of pressure-treated safe stain with a brush or sprayer. Allow 24 hours drying time between coats to ensure even coverage and rot resistance. For the roof, add 6-inch overhangs using plywood extensions and metal flashing to direct rainwater away from walls, preventing moisture buildup in the poultry housing. Inside, set up the deep litter system by spreading initial 4 inches of pine shavings on the coop floor, turning it weekly to compost manure naturally. This coop maintenance method cuts bedding costs by 70% compared to weekly full cleanouts, saving owners around $150 yearly for a 10-bird coop.
Install removable manure trays under roosting bars for easy collection, pairing them with a chicken run for outdoor access. Use galvanized steel trays that slide out for quick dumping into a compost system, reducing fly control issues. Add nesting boxes lined with straw bedding for comfortable egg collection. A ventilation system with louvers and windows keeps air fresh, while predator proofing via hardware cloth secures the enclosure. Tools needed include a shovel, rake, and pine shavings bags, all available at local feed stores. This setup supports 6-8 standard breed chickens in a 40 square foot coop shed, promoting healthy backyard chickens.
- Paint/seal exterior with two coats of pressure-treated safe stain for moisture control.
- Install 6-inch roof overhangs with flashing to enhance drainage coop design.
- Set up deep litter system, adding 2 inches shavings weekly for natural composting.
- Add removable manure collection trays under roosts for efficient manure management.
- Follow annual inspection checklist: check hinges coop, screws coop, wire mesh, and sealant coop integrity.
The 2-year maintenance schedule alternates deep litter refresh every 6 months with full coop cleaning, minimizing labor. Expert tips from extension services recommend monitoring humidity gauge levels below 60% to prevent respiratory issues in the chicken barn. Integrating a dust bath with sand pit outside the pop door encourages natural grooming, while security locks on the human door protect against raccoon guard threats. This finishing process transforms a prefab shed coop into a durable, cost-effective homestead shed, ideal for sustainable coop living with minimal ongoing effort.
Professional Chicken Coop Sheds Charlotte NC
If you can dream it, we can build it at Barnyard Utility Buildings. Take all of the hassle off your plate and let our team of professional shed builders handle your Charlotte chicken coop shed project from start to finish. Get in touch with us today to get started!
Frequently Asked Questions
What are chicken coop sheds and barns, and how do they differ from standard sheds?
Chicken coop sheds and barns are pre-built or customizable structures designed specifically for housing chickens, often starting as standard sheds modified for poultry needs. Customizing a shed as a chicken coop involves adding features like nesting boxes, roosts, ventilation, and predator-proofing to turn a basic shed into a functional chicken coop sheds and barns – customizing a shed as a chicken coop setup.
How do I start customizing a shed as a chicken coop?
To begin customizing a shed as a chicken coop, select a sturdy shed with enough space (at least 4 square feet per chicken). Key steps for chicken coop sheds and barns – customizing a shed as a chicken coop include insulating walls, installing windows for ventilation, adding hardware cloth for security, and creating pop doors for easy access.
What essential features should I add when customizing a shed as a chicken coop?
Essential features for chicken coop sheds and barns – customizing a shed as a chicken coop include roosting bars (8-12 inches off the ground), nesting boxes (one per 4-5 hens), proper drainage flooring, lighting for egg production, and easy-clean surfaces like droppings trays to maintain hygiene.
How can I ensure predator protection in chicken coop sheds and barns?
Predator protection is crucial when customizing a shed as a chicken coop. Use 1/2-inch hardware cloth over all openings, bury it 12 inches underground, reinforce doors with locks, and add electric fencing around chicken coop sheds and barns – customizing a shed as a chicken coop to deter foxes, raccoons, and hawks.
What ventilation and climate control tips apply to customizing a shed as a chicken coop?
Ventilation prevents moisture buildup and disease in chicken coop sheds and barns – customizing a shed as a chicken coop. Install adjustable vents high on walls, add ridge vents on the roof, insulate for winter, and use fans or misters in hot climates to keep temperatures between 55-80 degrees F for optimal hen health.
How much does it cost to convert a shed into chicken coop sheds and barns?
Costs for chicken coop sheds and barns – customizing a shed as a chicken coop vary from $200-$1,000 depending on shed size and materials. Budget for hardware cloth ($50-100), nesting boxes ($20-50), roosts (DIY free), insulation ($100), and bedding systems, making it a cost-effective alternative to buying a pre-made coop.


