Tool Sheds Charlotte NC
July 6, 2026
Workshop Sheds Charlotte NC
July 20, 2026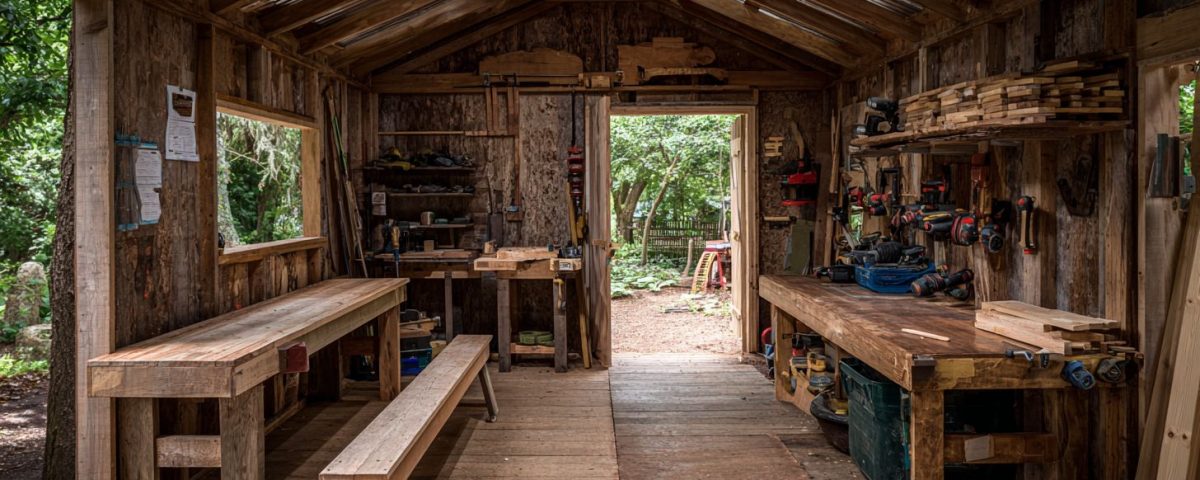
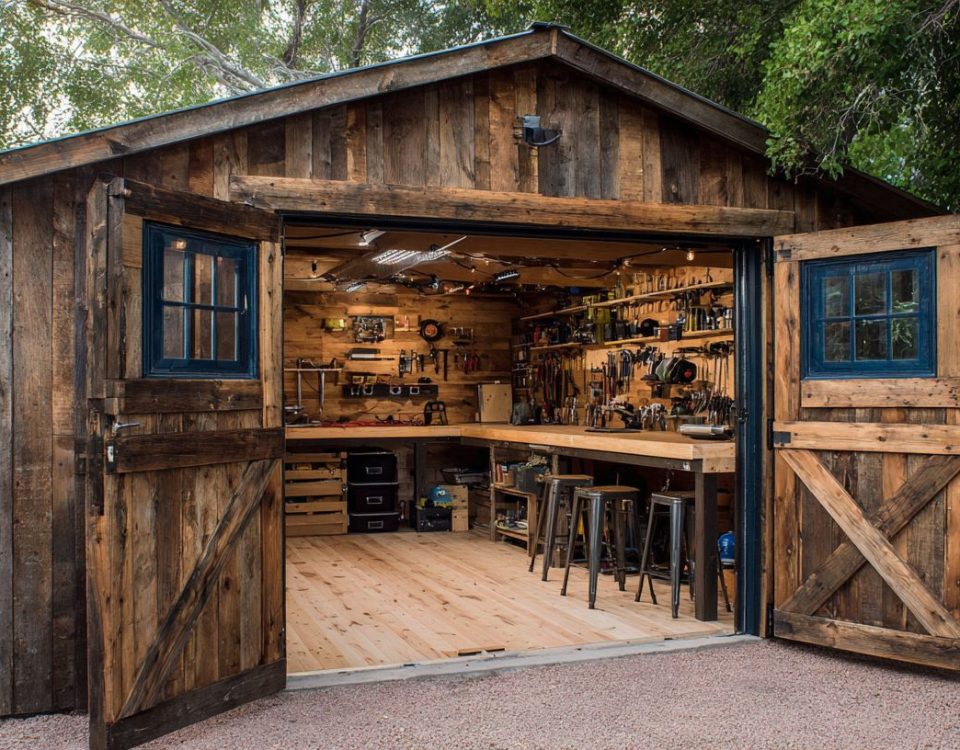
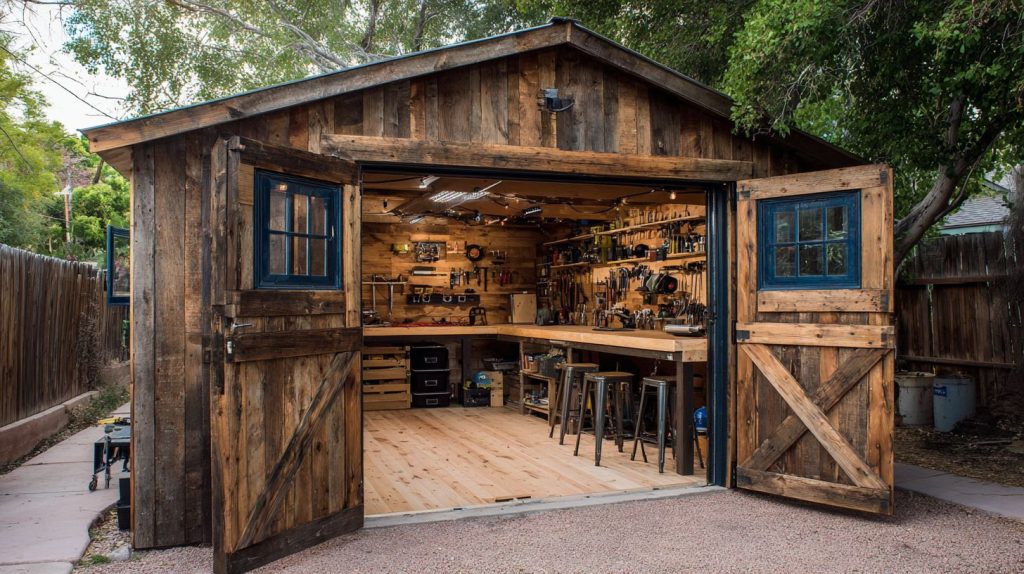
Imagine transforming your cluttered garage into a dedicated woodworking shed-a space where your hobby thrives without compromise.
As a trusted local shed builder in Charlotte, NC, with years of experience in crafting custom backyard solutions, we help turn hobbies into personal havens. Our custom sheds and storage buildings are built on-site with premium materials and quality craftsmanship. Explore essential uses for a woodworking shed, typical costs from $2,000-$10,000, beginner-friendly plans, step-by-step build guides, ideal sizes, durable materials, smart organization tips, permit requirements, power setup ideas, and DIY vs. pre-built options tailored to your needs.
Ready to build your woodworking shed? Keep reading to get started, or contact us today for a custom quote. We are your best on-site shed builder, serving Charlotte, NC and surrounding areas. Our team includes Beau, Silas, and Miles, ready to help you design your custom backyard solution. We also offer rent-to-own options through Barnyard Utility Buildings. Find us on Google and let us build your perfect shed, garage, or barn. Whether you need storage sheds, custom storage sheds, wood storage buildings, or a custom shed builder in North Carolina, South Carolina, or Virginia, we’ve got you covered.
What is a woodworking shed and its main uses?
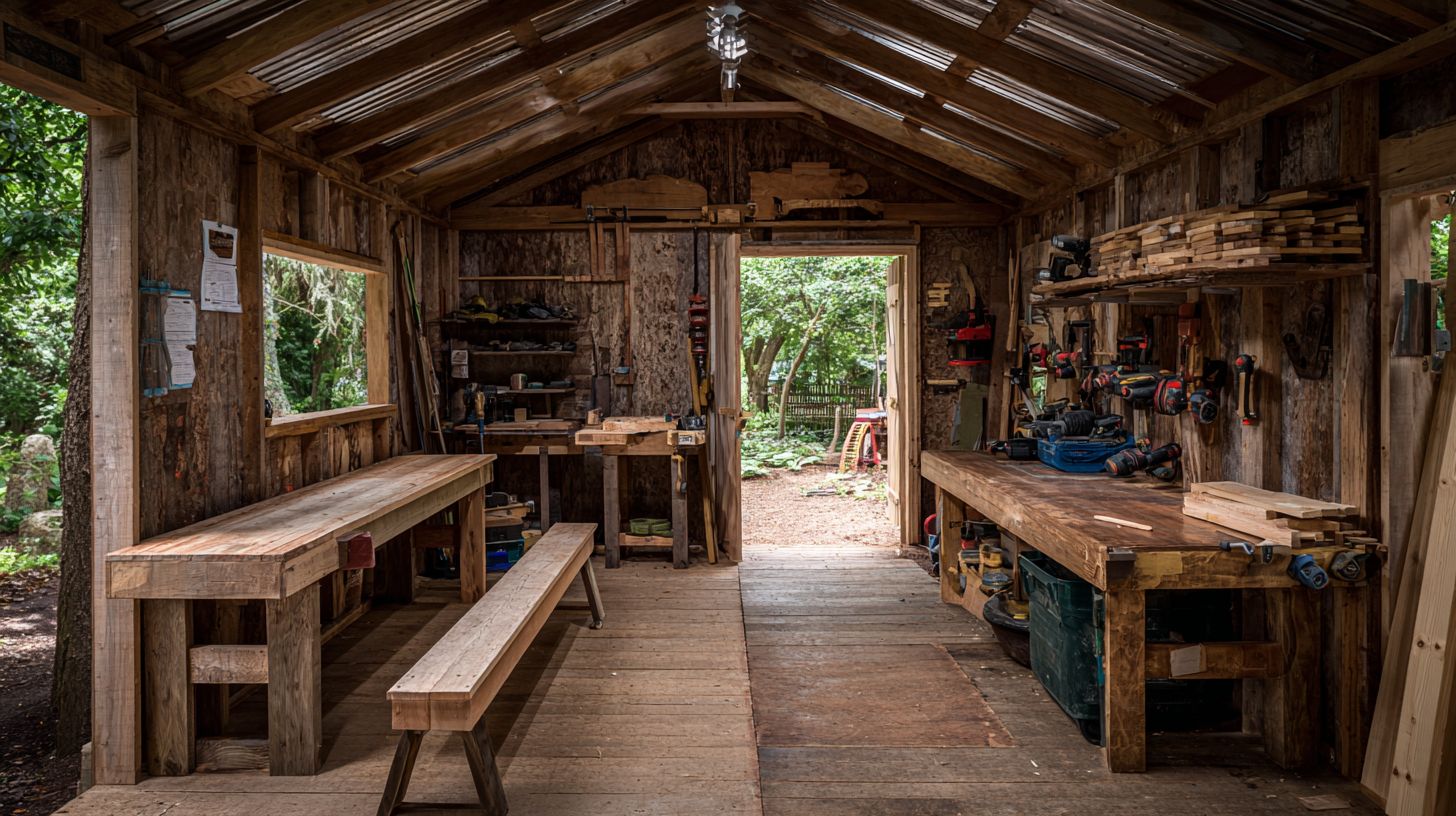
A woodworking shed is a dedicated backyard structure, much like a customized storage shed or wood shed, designed for woodworking projects, housing tools like table saws, miter saws, and workbenches while providing weather protection and organized storage. Typically sized at 100-150 square feet, it features dust collection systems, pegboard walls for tool hanging, and lumber racks for efficient organization. This setup turns a simple garden shed or tool shed into a functional outdoor workshop. Many of our custom sheds Charlotte clients love are built to last and can be purchased rent-to-own.
Common elements include a sturdy shed foundation like gravel base or concrete slab, proper shed framing with 2×4 lumber, and weatherproof shed siding such as cedar or pressure treated wood. Inside, expect shed pegboard, shed shelves, and lumber racks to keep chisels, clamps, and plywood sheets accessible. Good shed ventilation and shed lighting with LED lights ensure safe, comfortable use year-round.
The main uses focus on dedicated zones for key tasks. Here are five essential ones:
- Table saw and miter saw station: Needs at least an 8×10 shed space for safe operation and material handling.
- Dust-free planer/jointer area: Equipped with dust collection to manage shavings from plywood sheets and 2x4s.
- Hand tool organization: Pegboard for chisels, clamps, and mallets, plus a tool cabinet.
- Finish room with ventilation: Separate space for staining or painting with sprayers and good airflow.
- Wood storage: Racks for 2x4s, plywood, and reclaimed lumber to prevent warping.
For example, an 8×12 shed with a 7-foot workbench meets most hobbyist needs, as noted in Fine Woodworking survey of 2,500 builders. Add shed electricity for power tools and a workbench vise for precision work to maximize its value as a hobby shed.
How much does a woodworking shed cost?
Woodworking sheds cost $3,500-$18,000 depending on size, materials, and build method, with DIY 8×10 sheds averaging $4,200 using pressure-treated lumber and T1-11 siding. For a premium, handcrafted custom shed from us, we use LP SmartSide Panels and offer a Liberty Warranty. Costs vary based on whether you choose a DIY shed, shed kit, or professional build. HomeAdvisor 2023 data shows average shed cost rose 12% due to lumber prices.
Key factors include shed size, foundation type, and features like shed electricity or insulation. A basic backyard shed for tools stays affordable, while a full outdoor workshop with workbench and lighting adds expense. Plan your budget around lumber, hardware, and labor.
For a 10×12 shed, expect higher costs with extras like shingle roof or shed windows. DIY saves money but requires tools like table saw and clamps. Kits offer prefab shed convenience with shed framing included.
How to build a woodworking shed step-by-step?
Building a woodworking shed follows 9 essential steps starting with site prep and gravel base, completing a 10×12 shed in 40-50 hours with basic tools like circular saw and drill.
Plan your DIY shed with shed plans or shed blueprints to match your backyard shed needs, such as space for woodworking tools like table saw or miter saw station. Alternatively, explore our 3D Shed Builder to design your custom storage shed. Check local zoning laws and building code for shed permit requirements before starting shed construction. This ensures your workshop shed or tool shed stands firm as a hobby shed or craftsman shed. We proudly serve Charlotte, Mooresville, Lake Norman, Concord, NC, and parts of South Carolina and Virginia.
Gather materials like pressure treated wood, plywood sheets, 2×4 lumber, and OSB panels for shed framing. Basic power tools include a skill saw ($99 Home Depot) and air compressor ($149) for efficient shed building. Add safety gear like dust mask, gloves, and ear protection for safe work on your outdoor workshop.
Follow these numbered steps for solid shed foundation, shed framing, shed roofing, and more. For a hassle-free experience, consider our on-site construction services or a rent-to-own option. Each step builds toward a functional storage shed with shed workbench, shed shelves, and pegboard organization. Customize for features like shed lighting, shed ventilation, or power outlets.
1. Site Selection and Gravel Base
Choose a level spot for your backyard shed with good drainage, away from trees to avoid root interference. Our team at Barnyard Utility Buildings can help with site selection for your custom storage sheds. Dig a 4x4x8″ deep gravel base at about $200 cost to create a stable shed floor foundation. This prevents settling in your garden shed or lumber shed.
Compact the gravel in layers using a tamper for a firm base. Add landscape fabric under gravel to block weeds in your wood storage shed. Expect 4-6 hours for this first step in shed building.
2. Concrete Pier Foundation or 4×6 Skids
Install concrete pier foundation or 4×6 skids on the gravel base for elevation and moisture protection. Use pressure treated skids for a movable custom shed or piers for permanent 8×10 shed or 12×16 shed setup. This takes 6-8 hours and supports heavy loads from drill press stand or band saw.
Level skids with shims and secure with stakes. Piers need holes dug 24-36″ deep, filled with concrete, and topped with post anchors. Ideal for post and beam style in your timber shed.
3. Floor Framing
Frame the shed floor with 2×6 joists at 16″ on center over rim joists, then cover with 3/4″ plywood sheets. Use joist hangers for strength in your workshop shed floor. This step takes 4-5 hours and creates a durable surface for planer or jointer. For a truly built-to-last floor, consider our premium materials and expert craftsmanship.
Secure plywood with deck screws and seal edges with sealant for weatherproofing. Add ramp access here if storing mowers in a mower shed or bike rack shed.
4. Wall Framing
Build walls with 2×4 studs 16″ on center, including openings for shed doors and shed windows. Our custom sheds are built on-site with meticulous attention to detail. Raise and plumb walls on the floor frame for your gable roof shed or gambrel roof shed. Plan 6-8 hours for precise shed framing with a level and square.
Nail or screw studs to top and bottom plates. Include double top plates for rafter attachment in saltbox shed or lean-to shed designs.
5. Roof Trusses or Rafters
Construct roof trusses or rafters from 2×6 lumber, spacing them 24″ on center with ridge beam support. This ensures your wood storage buildings stand up to the elements. Install from gable ends for proper overhang in your shingle roof setup. This 5-7 hour task protects tools like chisels, clamps, and router table from rain.
Use hurricane ties at connections. Add soffit and fascia boards for a finished look on your outdoor workshop.
6. T1-11 Siding and Housewrap
Apply housewrap over framed walls, then nail on T1-11 siding for durable exterior on your DIY shed. For a premium finish, consider LP SmartSide Panels, available on our custom sheds. Seal seams with caulk for weatherproofing in potting shed or greenhouse shed use. Takes 4-6 hours with siding nails.
Consider cedar siding or LP SmartSide for premium craftsman shed appeal. Trim corners for clean lines.
7. Asphalt Shingles and Drip Edge
Install drip edge along eaves, then lay asphalt shingles over roof sheathing with roofing nails. Our shed builder team can also install a metal roof for added durability. Add starter strip and overlap rows properly for leak-free shed roofing. Complete in 4-5 hours, or opt for metal roof alternative.
Include gutters if needed for water management around your storage shed.
8. LP SmartSide Doors and Windows
Hang LP SmartSide doors and windows with hinges, latches, and weatherstripping for secure access. This is a standard feature on our handcrafted custom sheds Charlotte. Pre-hung units save time in 2-3 hours for your tool shed. Add security lock and ramp for easy entry.
Caulk around frames and paint or stain for protection.
9. Interior Workbench Install
Build and install a sturdy shed workbench at proper height using oak or maple top with epoxy finish. Add a workbench vise, tool cabinet, lumber rack, and pegboard hooks for organization. Add workbench vise, tool cabinet, lumber rack, and pegboard hooks for organization. Finish in 3-4 hours, plus shelves and dust collection setup.
Wire for power outlets, LED lights, or solar panels. Include ventilation fan and fire extinguisher for safe woodworking space with scroll saw or lathe.
What size woodworking shed do you need?
Most hobbyist woodworkers need 10×12 sheds (120 sq ft) for a table saw, miter station, and lumber storage, while serious builders require 12×16 sheds (192 sq ft) per Wood Magazine’s 2022 reader survey. We also offer square shed designs and barn-style sheds.
Choosing the right shed size depends on your woodworking level, tools, and storage needs. Beginners often start with an 8×10 shed for basic hand tools and a compact table saw. Measure your space to avoid cramped conditions that limit workflow.
Use this simple calculator formula: measure your longest tool (like a table saw at 8ft) plus 3ft walkways on each side, then add 20% for lumber storage. For example, a 10×12 shed fits a Delta 36-725 table saw (52″ rip capacity) plus an 8ft workbench perfectly, leaving room for a miter saw station.
| Woodworking Level | Recommended Size | Tools Fits | Storage |
|---|---|---|---|
| Beginner | 8×10 | Table saw + hand tools | Basic lumber rack |
| Intermediate | 10×12 | Adds planer/jointer | Lumber rack + shelves |
| Advanced | 12×16 | Full shop + dust collection | Extensive lumber + tool cabinet |
Experts recommend scaling up for power tools like band saws or drill presses. A real-world example shows a 12×16 workshop shed handling a router table, clamps, and wood scraps bin with ease, plus space for shed organization like pegboard and rolling carts.
What materials are best for a durable woodworking shed?
Pressure-treated 2×4 and 2×6 lumber with LP SmartSide Panels and architectural shingles create sheds lasting 25+ years, resisting rot even in humid climates. Whether you buy a kit or have a custom built shed built on site, these materials deliver lasting performance. These choices suit a woodworking shed or backyard workshop, protecting tools like table saws and drill presses from weather. Experts recommend them for DIY shed builds using shed plans or blueprints.
For shed framing, use pressure-treated lumber to handle moisture in a tool shed or lumber shed. Pair it with LP SmartSide Panels for walls, which resists impact better than T1-11 siding. This combo works well for 8×10 shed or 10×12 shed sizes, ensuring sturdy shed construction.
Roofing options like architectural shingles provide reliable coverage for a gable roof shed. They pair with proper shed ventilation to prevent condensation inside your outdoor workshop. Add shed insulation for year-round use in a craftsman shed housing band saws or router tables.
Consider metal roofing as an alternative for quieter performance in rainy areas. It lasts alongside gravel base foundations, ideal for a custom shed with workbench and shelves. Prefer a turnkey option? Companies like Barnyard Utility Buildings, Barnyard Utility Buildings, Barnyard Utility Buildings, and Barnyard can build on site or drop a storage shed builder-crafted unit in your yard. Always check local building code and shed permit rules before shed building.
| Component | Best Material | Cost/sqft | Lifespan |
|---|---|---|---|
| Foundation | 4×6 PT skids | $1.20/linear ft | 25yr |
| Walls | LP SmartSide | $2.80/sqft | 50yr warranty |
| Roof | GAF Timberline HDZ | $1.10/sqft | 30yr |
| Roof Alternative | Metal | N/A | 30yr, quieter |
LP tests show SmartSide vs T1-11: 5x stronger, resists delamination in wet conditions. This makes it perfect for a workshop shed storing chisels, clamps, and sandpaper. Use plywood sheets or OSB panels for shed floor over concrete slab or gravel base.
How to organize a woodworking shed for efficiency?
Efficient woodworking sheds use 36-42″ high workbenches, pegboard walls every 16 and vertical lumber storage to access 95% of tools in under 30 seconds. This setup turns a basic shed, backyard shed, or one of the larger garages into a streamlined workshop shed. Proper organization cuts time wasted searching for woodworking tools like chisels or clamps. Plan your layout with a 3D Shed Builder tool before you commit.
Divide your tool shed into six key zones for smooth workflow. A 10×12 shed with a ShopNotes Magazine layout and 3-zone workflow saves time each week. Focus on vertical space in your DIY shed to keep floors clear for projects.
Start with a solid shed foundation like gravel base or concrete slab before adding zones. Integrate shed lighting with LED lights and power outlets near the shed workbench. Good shed ventilation and dust collection prevent clutter from buildup.
The Six Organization Zones
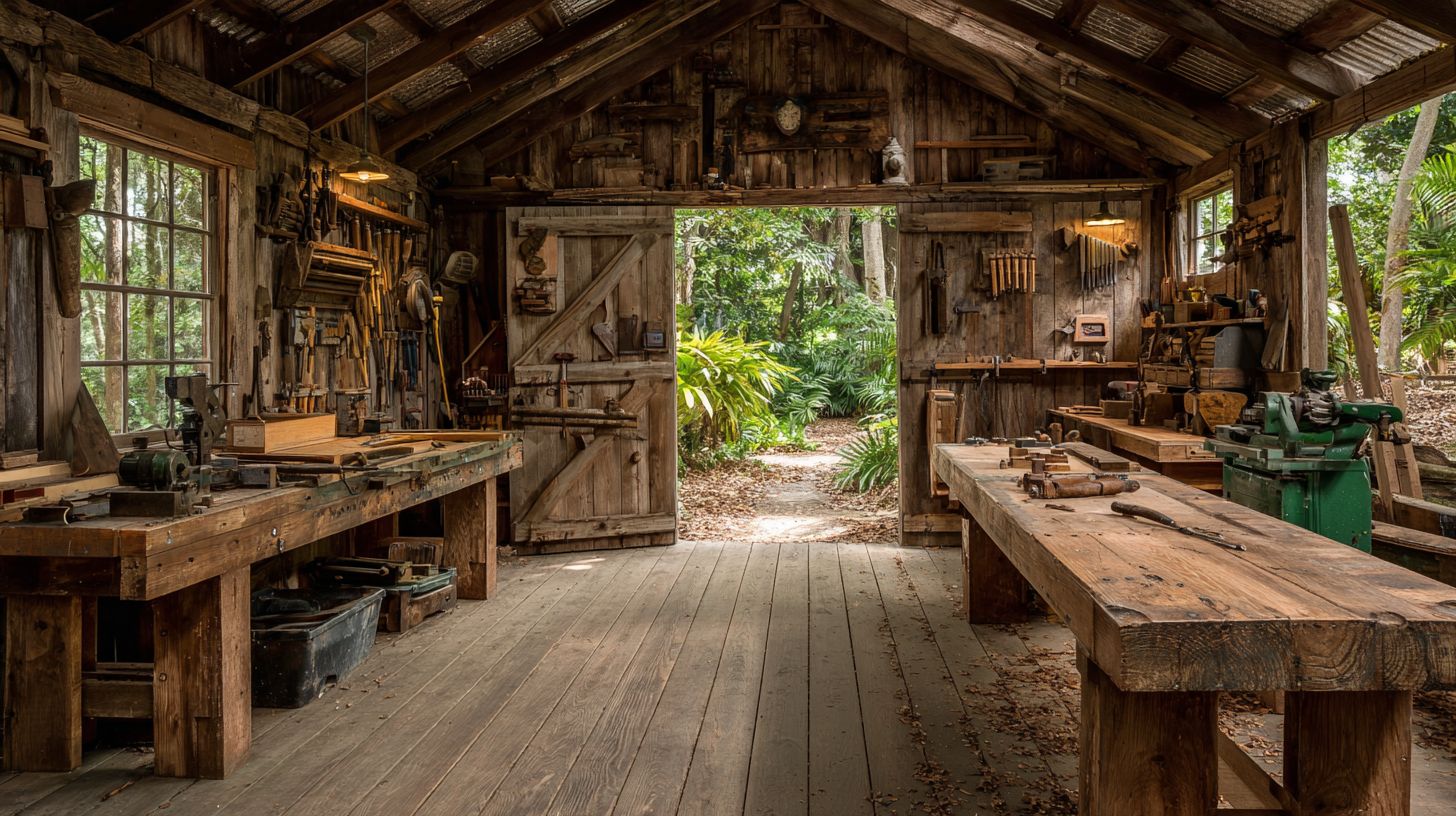
- 42″H x 8ft workbench (maple top): Set this at elbow height for sanding, assembly, and finishing. Add a workbench vise and oak edges for durability in your outdoor workshop. Keep it clear except for current projects like router table setups.
- Pegboard with 1/4″ hooks ($29/4×8 sheet): Mount on walls every 16″ for hand tools such as chisels, mallets, and clamps. Outline spots for screwdrivers and pliers to grab them fast. This shed pegboard system works in any hobby shed.
- Wall-mounted lumber rack (2×4 cantilever): Build from 2×4 lumber to store plywood sheets, pine boards, and oak up high. Keeps your lumber shed area tidy and protects against moisture. Ideal for wood storage shed needs.
- Rolling tool cabinet (30 drawers): Place under the bench for sandpaper, screws, nails, wood glue, and small bits. Use drawer slides for smooth access to drill bits or hinges. Perfect for tool cabinet in a craftsman shed.
- French cleat system for power tools: Hang table saw, miter saw station, planer, and jointer on cleats for quick swaps. Secure cordless tools and battery charger nearby. Boosts efficiency in your table saw shed.
- Scrap wood bins: Sort into bins for small, medium, and large scraps near the door. Recycle sustainable wood or reclaimed lumber here. Add safety gear like dust mask and gloves on top.
Layout Diagram Description
Picture a 10×12 shed with double shed doors on the front. The 42″H x 8ft workbench runs along the left wall, paired with the rolling tool cabinet below. Pegboard covers the back wall fully, with French cleats above for power tools.
On the right wall, install the 2×4 cantilever lumber rack from floor to ceiling. Scrap wood bins sit in the front right corner by the door for easy exit. This shed organization creates a U-shaped workflow.
Add shed shelves above the bench for finish supplies like brushes and Minwax. Place a dust collection unit central but mobile. LED lights overhead and power outlets every 6 feet ensure safe use.
This setup fits shed plans or shed blueprints for custom builds with gable roof or metal roof. It supports pressure treated wood framing and shed insulation for year-round work.
What permits and regulations apply to building a woodworking shed?
Shed permits are required for structures over 120 sq ft in most US municipalities, with 5-10ft property line setbacks common per International Residential Code (IRC R105.2). Always verify local rules before starting your DIY shed or workshop shed project. This helps avoid fines during shed construction.
Requirements vary by location, shed size, and use as a backyard shed or outdoor workshop. For a woodworking shed, check if it needs electrical for table saw shed setups or insulation. Contact your local building department early in planning shed blueprints.
Use this table to gauge permit needs based on shed size for common 8×10 shed, 10×12 shed, or larger builds.
| Shed Size | Permit Type | Typical Cost/Notes |
|---|---|---|
| Under 120 sq ft | Usually no permit | Check HOA rules for garden shed or tool shed |
| 120-200 sq ft | Zoning permit | $50-150; common for 12×16 shed |
| 200+ sq ft | Full building permit | $300-800 + inspections for custom shed |
Follow this pre-build checklist to ensure compliance for your hobby shed or craftsman shed. If you’re in Charlotte, Mooresville, Lake Norman, or Concord, NC, local builders like Barnyard Utility Buildings can help you stay compliant. It covers key safety steps before shed foundation work.
- Call 811 before digging to mark utilities for shed floor or gravel base.
- Check setbacks, typically 5ft sides/10ft rear, from property lines.
- Meet snow/wind load requirements, often 20-40psf, for gable roof shed.
- Dig to frost line depth, 36-48″ in northern states, for stable concrete slab.
How to add power and lighting to a woodworking shed?
Installing a 100A subpanel with 20+ outlets and 5000 lumens LED lighting creates a professional woodworking shed, costing $1,200-2,500 for 10×12 sheds. Many buyers use Rent-to-Own programs to spread that cost, and a quick Google search for “on site shed wiring” helps too.
This setup powers table saws, dust collectors, and lights your workshop shed effectively. It turns a basic backyard shed into a functional outdoor workshop.
Start with a load calculation: table saw 15A + dust collector 20A = 50A service needed. This ensures safe operation of woodworking tools without overloads.
Follow NEC codes for GFCI protection on all outlets. Hire a licensed electrician if unsure about shed electricity wiring.
Step-by-Step Wiring Guide
Run 2″ PVC conduit from the house, about 50ft at $2.10/ft, to protect wires entering your DIY shed. Bury it 18 inches deep per code for outdoor runs.
Install a 100A Square D subpanel for $89 inside the shed. Mount it securely on the wall near the shed workbench for easy access.
Add 20A circuits dedicated to tools, feeding 12 outlets around the shed. Use 12-gauge wire for these runs to handle miter saws and drill presses safely.
- Pull wires through conduit using fish tape.
- Connect ground, neutral, and hot leads properly in the subpanel.
- Label all breakers for table saw shed, dust collection, and lighting circuits.
Selecting and Installing Lighting
Choose 5000K LED shop lights, 4x4ft panels at $45 each, for bright, daylight-like illumination in your tool shed. Mount four panels for even coverage in a 10×12 shed.
Wire them on a dedicated 20A circuit with GFCI protection required by NEC 210.8. Position lights above the workbench and lumber rack to reduce shadows.
Add motion-sensor options for energy savings. This setup provides 5000 lumens total, ideal for detailed work like chiseling or sanding.
Safety and Code Compliance
Whether you are in Charlotte, Concord, or anywhere across North Carolina, South Carolina, or Virginia, always include GFCI outlets near water sources or outdoors in your garden shed. Test them monthly to protect against shocks during woodworking projects.
Secure the subpanel with a lockable cover. Keep a fire extinguisher and first aid kit nearby for safety in the hobby shed.
Check local zoning laws and building codes before starting shed electricity work. If you are near Mooresville or Lake Norman, NC, confirm the same local requirements. A permit may be required for subpanel installs.
Frequently Asked Questions
What is a woodworking shed and why do I need one?
A woodworking shed is a dedicated outdoor structure designed specifically for woodworking activities, providing a protected space for tools, materials, and projects. Popular options include custom and prefab models from Barnyard Utility Buildings. It’s essential for hobbyists and professionals to keep your workspace organized, safe from weather, and separate from living areas, allowing for efficient woodworking shed setups that boost productivity and creativity.
How do I choose the right size for my woodworking shed?
When selecting the size of your woodworking shed, consider your tools, workbench needs, and storage requirements. A common recommendation is at least 10×12 feet for basic setups, but larger 12×16 or 16×20 woodworking sheds offer more room for bigger projects, machinery like table saws, and future expansions while ensuring comfortable movement.
What materials are best for building a woodworking shed?
The best materials for a woodworking shed include pressure-treated lumber or cedar for framing to resist rot, LP SmartSide Panels, plywood or OSB for siding, and metal roofing for durability. These choices ensure your woodworking shed withstands moisture and pests, common in workshops, while providing insulation options for year-round use.
How can I organize my tools in a woodworking shed?
Organize your woodworking shed with wall-mounted pegboards, French cleat systems, and modular shelving for tools and supplies. A 3D Shed Builder and Rent-to-Own options can help you plan and afford the right setup, and you can search Google for local providers like Beau, Silas, or Miles. Add a dedicated workbench with built-in drawers and overhead cabinets to maximize space, creating an efficient woodworking shed layout that keeps everything accessible and dust-free.
What permits and regulations apply to building a woodworking shed?
Building a woodworking shed often requires local permits, zoning checks, and adherence to setback rules from property lines. A Liberty Warranty can add extra coverage for qualified installations. Check with your city’s building department for size limits (e.g., under 120 sq ft may be permit-free in some areas) and electrical/plumbing codes if wiring your woodworking shed for power tools.
How do I make my woodworking shed weatherproof and secure?
To weatherproof your woodworking shed, use proper foundation (gravel or concrete piers), seal all joints with caulk, and install vapor barriers. For security, add heavy-duty locks, reinforced doors, and motion lights. These steps protect your valuable woodworking shed contents from rain, wind, theft, and humidity damage.