The Ultimate Shed Maintenance Checklist
February 3, 2020
Top 10 Creative Ways to Use a Shed
March 24, 2020
One of the most overlooked aspects of building a shed is building a shed base. Without a properly leveled foundation, your shed will have all kinds of problems. It will be more susceptible to leaks. It might be put up at an angle, which will greatly reduce its structural integrity. Items stored in the shed might roll around, which can lead to spilled oil and paint cans, not to mention fuel in your mower or snow blower coming to a rest at a strange angle within your equipment.
Top tips on building a shed base
Thankfully, all of this can be avoided as long as you know the basics of building a shed base. You don’t need to be an experienced contractor or work with concrete every day to be able to do this. However, prior to setting up your shed, here are the top tips on building a shed base.
Know The Shed You’re Installing
Prior to building a shed base, you will want to know what shed you are going to use. Or, at the very least, you’ll need to know the dimensions of the shed. This way, you’ll know how large to make the base (the base will need to be a few inches larger around than the shed itself).
Select The Right Location
First, you’ll want to choose the best location in your yard. Ideally, it will be as level as possible. If it is on a slight angle you’ll need to dig out the position to make the ground level.
Once you have the location selected you’ll need to remove all grass and other vegetation. You don’t want to place the shed above currently growing grass.
You will also want to give yourself more room to work with than what the dimensions of the shed are. At the very least you’ll want a few inches all the way around the shed, but more space is always better.
Set Up The Frame
This is going to be a temporary frame. This temp frame is going to hold the base materials used for your shed. The easiest materials to use for the temporary frame are going to be 2×4 wood beams. While this is only a temporary frame you will need to make sure it is level. You will be filling in the area within the frame, so if it isn’t level it will affect the base. Make sure you have a level with you for this and make the necessary adjustments for leveling the frame. Don’t rush this part of the process and take all the time you need. When it comes to building a shed base this is one of the more important steps in ensuring the quality of your shed.
When you level the frame you want to not only make sure the sides are level but the corners as well. Once everything is leveled off you can continue to the next tip.
Fill Your Base
With the leveled frame you can begin adding in the base material. Usually, this is road gravel or a kind of granite fines. The base itself will need to be at least three to four inches deep, although you can go a bit deeper if necessary. If you have substantial flooding in your area it might not be the worst thing to give yourself some extra-base height to work with as this will help reduce water pooling up around the shed.
Compact the Base
It is a good idea to compact your base. Some may skip this step but by compacting the base you’ll reduce settling once the shed goes up. With a compactor tool you’ll press down on the base, so you may end up adding a small amount of material over the compacted area as it pushes down. Once it is flattened, compacted, and leveled, you can continue.
Remove the Temp Frame
You can now remove the temp frame. One of the reasons why you’ll want to compact the base is because it will help keep everything in place once the temp frame is removed. If you don’t compact the base there might be some spillage while lifting the frame up.
Prepare For Delivery
The shed is now ready to be placed into position. If you would like it is possible to lay a concrete base for the shed, although this is generally not necessary and it is only recommended if you have some skill with leveling concrete. This kind of process is much more difficult and more expensive (especially if you need to do it multiple times). However, it is up to you.
Following the process of building a shed base, you are now ready for delivery. The shed will be delivered and installed over your base. One of the reasons why you wanted to have the base dimensions be slightly larger than the shed dimensions is because you’ll want to have some overhang with the base. If the base and the shed are exactly the same it can open up to some slipping, especially if the base was not compacted and a corner slips out a bit.
As is the case with the frame, you will want to make sure the base is fully level. Thankfully with the frame level it is easier to check and keep the added materials smooth. You can do this by sliding a straight board back and forth over the top of the frame. This will help pull up any of the gravel that is too high while exposing areas that need to be filled in.
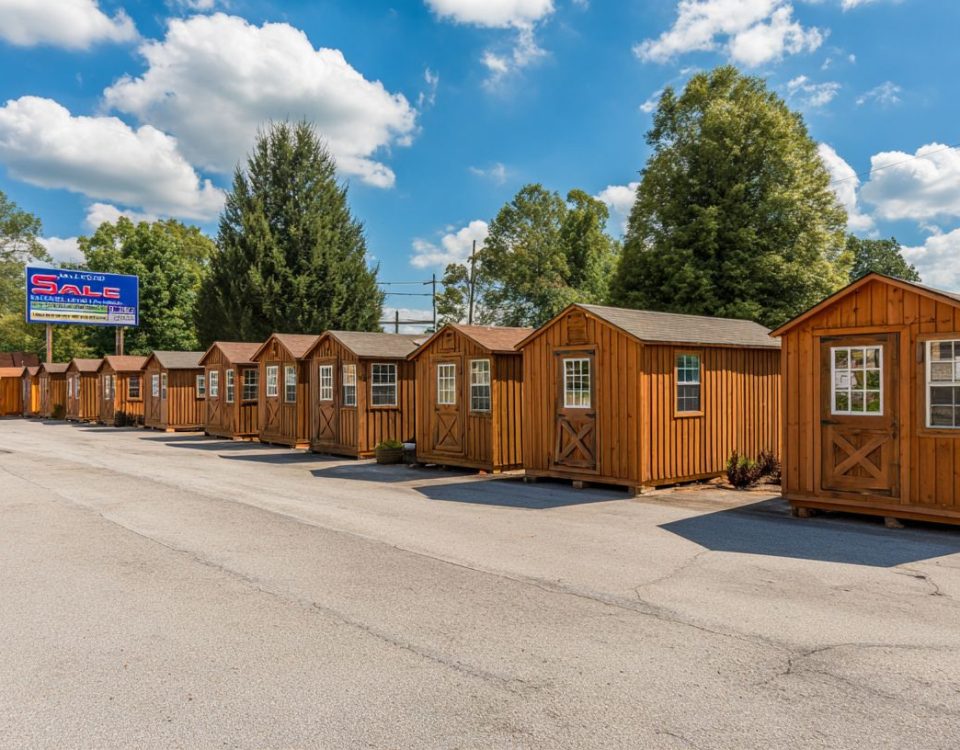
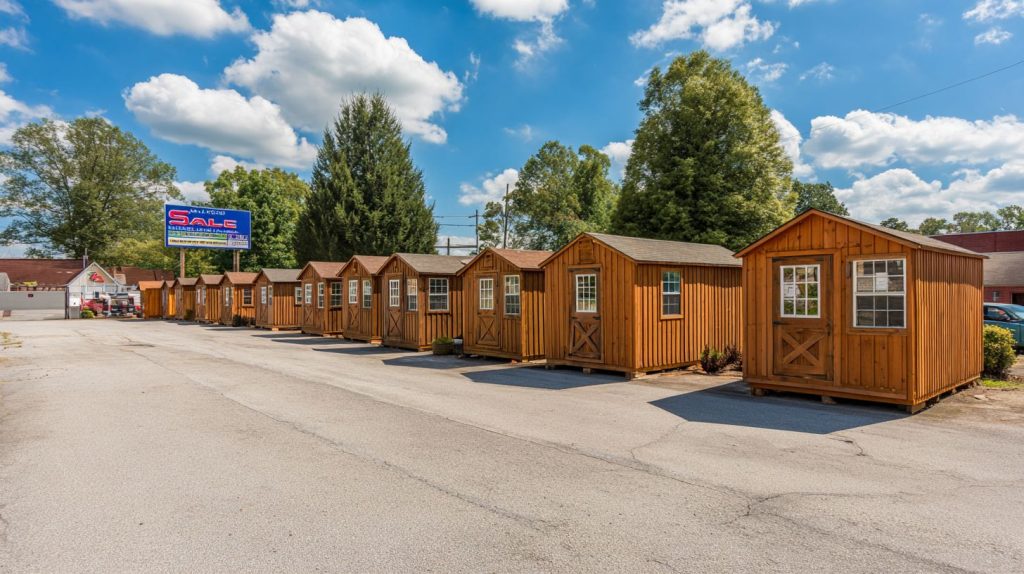
Find Your Next Shed At Barnyard Utility Buildings
If you’ve been considering a new shed there’s no better time than the present. Barnyard Utility Buildings has dozens of design types, ranging from the standard utility shed all the way to larger constructions featuring full insulation and windows. You can even specially design a shed if there are specific size requirements and specs you’re interested in. So, no matter what kind of shed you’re looking for, make sure to check out what Barnyard Utility Buildings has to offer.

