Pool House Sheds Charlotte NC
June 8, 2026
Supply Sheds Charlotte NC
June 22, 2026
Picture a dedicated pottery studio where your creativity flourishes, protected from the elements and everyday clutter. As a trusted, locally established builder in Charlotte, Harrisburg, Greer, Monroe, Rock Hill, and more, we deliver customizable, high-quality pottery sheds with dependable service you can rely on, and we also offer a range of storage buildings charlotte residents trust for all their backyard needs.
Explore why you need a pottery shed, detailed cost breakdowns, top material choices, sizing tips, pre-made and DIY options, must-have features, proper ventilation, custom builds, and smart storage solutions-all engineered for long-lasting durability and seamless creative workflow.
Ready to shape your ideal pottery studio? Contact us today for a personalized quote and start creating in style.
What is a pottery shed and why do you need one?
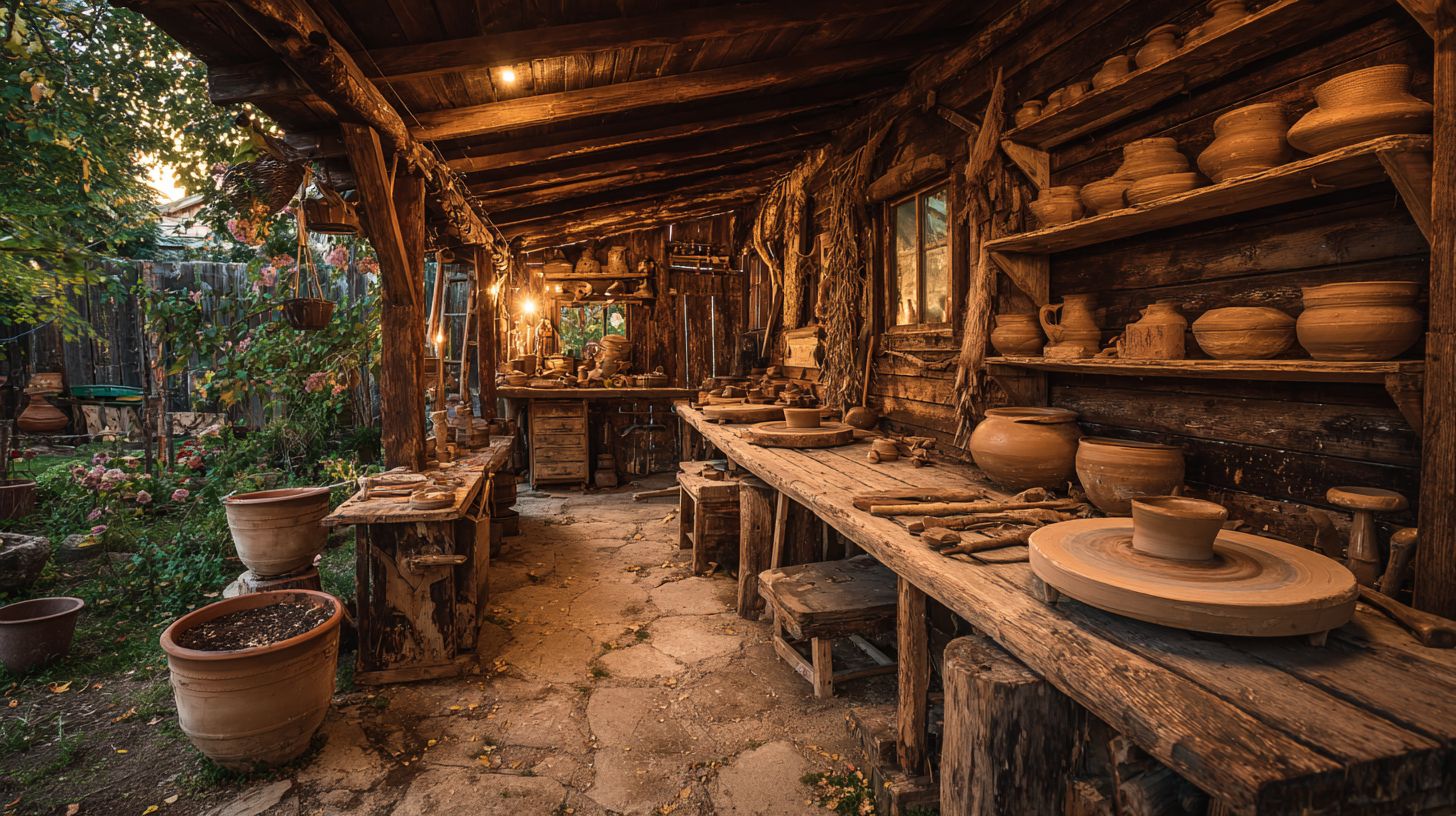
A pottery shed is a dedicated backyard workspace equipped with pottery wheel, kiln, ventilation, and storage for clay, glazes, and tools. For those seeking wood sheds charlotte nc homeowners appreciate, our sheds combine quality lumber with expert craftsmanship. It transforms messy garage pottery sessions into organized, dust-free creativity zones. Think of it as your personal outdoor pottery studio with kiln power, concrete floors, and fans for safe airflow.
Potters choose pottery sheds to keep home spaces clean from clay dust. A dedicated clay workspace prevents particles from spreading indoors, meeting basic air quality needs. This setup lets you focus on wheel throwing or handbuilding without constant cleanup battles.
Key benefits include better organization for pottery tools like rib tools and calipers, and our storage shed accessories such as shelving and hooks keep everything within reach. Insulated walls support year-round firing in your kiln shed, making sessions efficient. Natural light through shed windows boosts productivity for glazing or trimming greenware.
- Space separation keeps home clay dust at bay, aligning with indoor air standards for safer living areas.
- Insulated pottery sheds cut energy use compared to uninsulated garages during bisque or glaze firing.
- Productivity rises, as one potter doubled output from weekly pieces after moving to a dedicated space.
- Professional photos in natural light sheds improve online sales for Etsy potters.
Local potter Jane shows the impact. She upgraded from a garage to a 12×16 shed, adding 220V outlets and ventilation fans. Her farmers market sales grew after better-organized sessions for vases and planters.
How much does a pottery shed cost?
Pottery sheds range from $2,500-$15,000 depending on size, materials, and kiln-ready electrical upgrades. Basic setups suit hobbyists starting with wheel throwing or handbuilding, while premium options support full pottery studios with kilns and ventilation. Factors like concrete floors and shelving add practical value for clay workspace efficiency.
Costs break down into key areas: base shed structure at 40%, kiln electrical at 20%, ventilation at 15%, concrete floor at 10%, shelving at 10%, and windows at 5%. This allocation ensures pottery safety and organization for tools like potter’s wheel and glaze mixing stations. Experts recommend prioritizing electrical for electric kiln compatibility.
| Option | Price Range | Key Features |
|---|---|---|
| DIY pallet shed | $500-1,500 | Reclaimed wood, basic tools |
| Pre-made prefab shed 10×12 | $3,200 | Metal siding, double doors |
| Prefab Metro Shed 8×10 | $2,800 | Wood, windows |
| Custom builder shed 12×16 | $9,500 | Insulated, 220V wiring |
| Premium cedar kiln shed | $14,000 | Double walls, ventilation |
What are the best materials for building a pottery shed?
Clay dust, high kiln heat up to 2,300 degreesF, and humidity demand fire-resistant, moisture-proof materials that last 20+ years. Pottery sheds face constant exposure to water from wheel throwing and glazing stations. Choosing the right options ensures your potter’s shed stays safe and functional for clay work.
Durability against clay dust and moisture sets top materials apart for backyard pottery setups. Options like metal and cement board resist warping better than plain wood. They protect pottery tools and kilns from environmental damage over time.
A smart combo pairs cement board siding with a steel roof for pottery studios. This setup handles bisque firing heat and glaze mixing spills with ease. Experts recommend it for outdoor pottery studios needing long-term reliability. Our barnyard utility sheds are built with the same robust materials and attention to detail.
Consider your pottery workshop needs like kiln ventilation and tool storage when selecting. Prefab steel frames offer quick assembly for a ceramics shed. Balance cost with safety for your wheel throwing shed or clay storage area.
| Material | Durability | Cost/sqft | Kiln Safety | Maintenance | Example |
|---|---|---|---|---|---|
| Pressure-treated lumber siding | 25yr | $8/sqft | Good | Low | LP SmartSide |
| Galvalume metal | 40yr | $6/sqft | Excellent | None | Prefab kit |
| Cedar board & batten | 30yr | $12/sqft | Good | Medium | Amish sheds |
| Cement board siding | 35yr | $10/sqft | Excellent | Low | HardiePanel |
| Steel frame prefab | Lifetime | $7/sqft | Best | None | VersaTube |
How to choose the right size for your pottery shed?
Minimum 8×10 for solo hobbyist (potter’s wheel + small kiln), 12×16 ideal for serious potters with slab roller and glaze station. Your pottery shed size depends on your skill level and equipment needs. Start by listing essential pottery tools like wheel, kiln, and worktable.
Beginners need compact spaces for basic wheel throwing and firing. Intermediate potters add tools like extruders for more projects. Advanced setups include pugmills and multiple stations for efficiency.
Use a simple space calculator to avoid cramped conditions. Account for wheel (6×6), kiln (5×5), worktable (4×8), wall shelves, and 3ft walkways. This ensures safe movement in your backyard pottery area.
Real example: Mike’s 10×14 shed fits Speedball extruder + two wheels perfectly. It allows room for drying shelves and glaze mixing without clutter. Adjust based on your clay workspace goals.
Size Recommendations by Potter Type
Match shed size to your experience for a functional pottery studio. Beginners thrive in smaller footprints with core gear. Larger spaces suit growing collections of pottery equipment.
| Potter Type | Size | Sq Ft | Key Equipment |
|---|---|---|---|
| Beginner | 8×10 | 80 | Shimpo wheel + Paragon FireFly kiln |
| Intermediate | 10×12 | 120 | Brent wheel + Skutt KM818 |
| Advanced | 12×20 | 240 | Pacifica wheel + Olympic 2821G kiln + pugmill |
This table guides shed selection for comfort. Add space for pottery supplies storage like clay bins. Experts recommend extra room for future tools.
For a home pottery studio, test layouts on paper first. Include kiln safety zones away from walls. This setup supports handbuilding or wheel work smoothly.
Simple Space Calculator for Your Pottery Shed
Calculate needs with basic measurements for your ceramics shed. List items and add buffer space. This prevents tight squeezes during pottery making.
- Wheel: 6×6 feet for throwing and bats
- Kiln: 5×5 feet plus vent clearance
- Worktable: 4×8 feet for wedging and trimming
- Shelves: Along walls for greenware drying
- Walkways: 3 feet minimum for safe access
Total these for your potter’s shed footprint. Factor in doors for wheelbarrow entry. Good flow aids pottery organization and cleanup.
Example: Beginner setup totals around 80sqft with walkways. Scale up for glazing station or slab roller. Prioritize pottery ventilation near kiln area.
Tips for Pottery Modifications
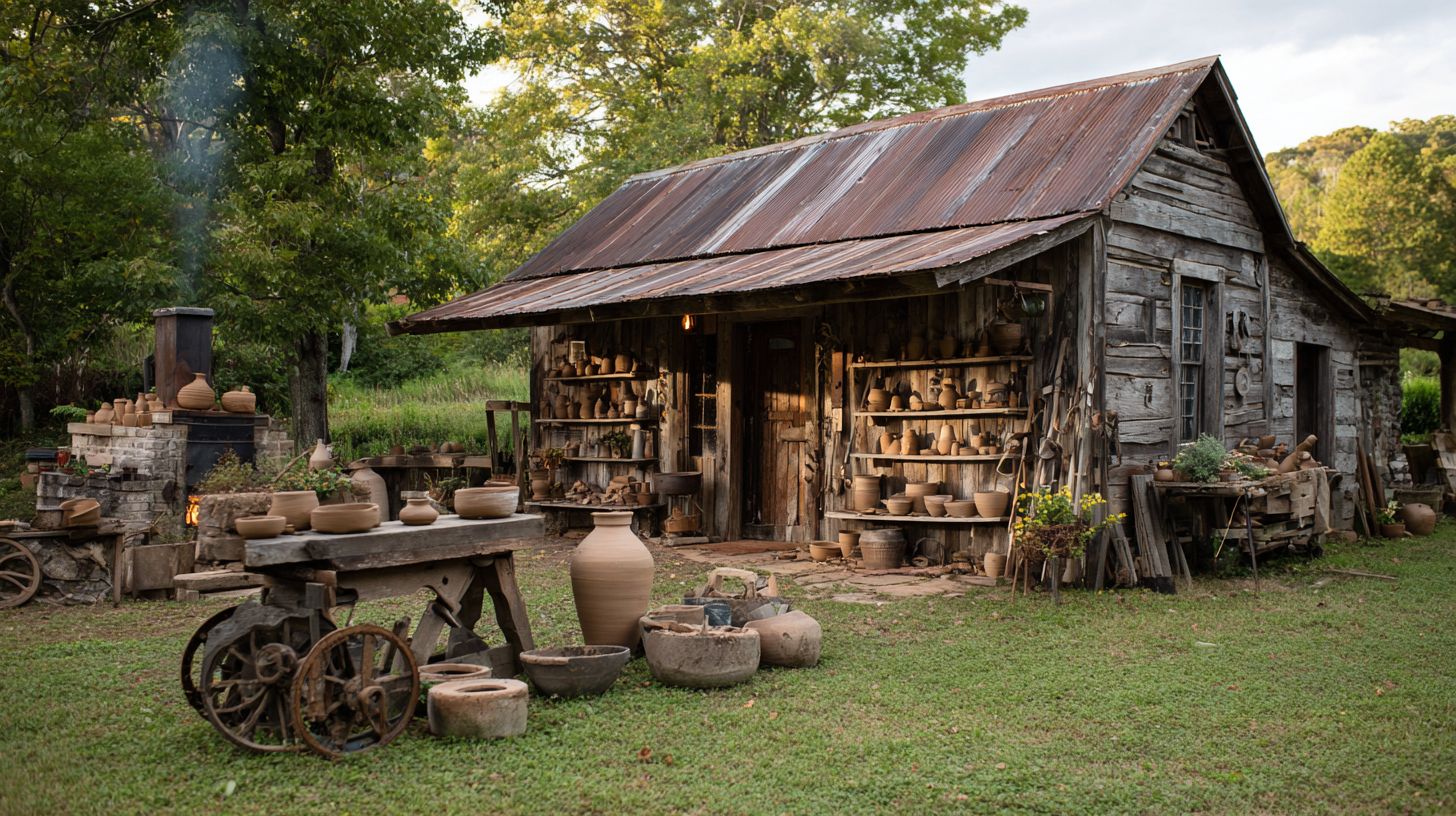
Start with double doors on your pottery shed for moving kilns and pug mills. Install 220V outlets for electric pottery wheels and kilns. Add LED shop lights over wedging tables for precise trimming.
Incorporate shed ventilation with exhaust fans to manage clay dust. Use dehumidifiers for humidity control in clay storage areas. Opt for epoxy floors with drainage for easy pottery cleanup.
Build drying shelves and tool storage racks inside. Include a slop sink for glaze mixing and bisque handling. These changes turn a basic shed into a functional outdoor pottery studio.
How to build a DIY pottery shed?
Build a 10×12 kiln-ready shed in 2 weekends using treated lumber, concrete piers, and prefab trusses for under $3,000. This DIY pottery shed provides a dedicated space for your potter’s wheel, electric kiln, and clay workspace. It supports wheel throwing, glazing, and bisque firing safely in your backyard. Consider adding a pottery studio sign above the door for a personal touch.
Start with detailed plans to ensure your DIY pottery shed has room for pottery tools, drying shelves, and a wedging table. Use treated materials to handle pottery humidity control and clay dust. Proper setup prevents common issues like poor drainage or undersized power.
Follow these numbered steps for a sturdy ceramics shed with double doors for easy access to pottery supplies storage. Total build time is about 35 hours over weekends. Focus on kiln safety and ventilation from the start.
- Download 10×12 shed plans as a PDF with cut list for precise framing. Consider adding a pottery studio layout to optimize space.
- Prep the site with 12 concrete piers using Quikrete bags for a level foundation that handles moisture from clay work.
- Build the floor using 3/4-inch treated plywood on 2×6 joists to support heavy pottery equipment like a pug mill or slab roller.
- Frame walls with 2×4 lumber and cover with LP SmartSide siding for durability against weather and clay splatter.
- Install a roof with 30-year architectural shingles and add a 220V subpanel to power your electric kiln safely.
- Add 6ft double barn doors for moving large items like wheel bats or raku kiln setups.
- Wire for a kiln circuit plus 6 outlets, then hire an electrician to meet code for your pottery kiln room. Install a pottery studio grade subpanel for future needs.
Essential Materials for Your Pottery Shed
Gather treated lumber for the frame to resist dampness from wedging clay or glaze mixing. Include plywood bats and bat boards for drying greenware on pottery shelves. Add a dehumidifier for pottery humidity control in your clay studio. A pottery studio organizer keeps tools within reach.
Choose LP SmartSide for walls to create a fire-resistant pottery workshop near your kiln. Install LED shop lights for task lighting over the glazing station. Use non-slip epoxy on the floor for safe pottery cleanup with a hose bib. A pottery studio fire extinguisher is a must.
Stock up on shed windows for natural light during handbuilding or trimming leather-hard clay. Add a slop sink for rinsing pottery sponges and tools. These choices make your backyard pottery space practical and efficient.
Common Mistakes to Avoid
Avoid an undersized kiln circuit, which can trip breakers during glaze firing. Always plan for 220V power to run your electric pottery wheel and kiln vent without issues. Test outlets before installing heavy pottery equipment. Pottery studio electrical plans should be reviewed by an electrician.
Poor shed drainage leads to water pooling, harming stoneware clay storage or porcelain clay bins. Set piers high and slope the ground away from the doors. This keeps your pottery studio dry for coil pottery or slab building.
Skip thin walls without shed insulation, as temperature swings affect bisque firing schedules or cone packs. Add ventilation fans to manage clay dust and fumes. Proper planning ensures a safe, lasting outdoor pottery studio.
What essential features should a pottery shed have?
Kiln power, dust extraction, concrete flooring, and double doors separate great sheds from garage nightmares. A well-equipped pottery studio supports safe wheel throwing, glazing, and firing without constant cleanups or hazards. These features create a dedicated clay workspace for everything from slab building to raku firing.
Plan for a 220V electrical service to handle kiln demands alongside lights and tools. Include a kiln vent fan to pull fumes outdoors during bisque or glaze firing. A sturdy concrete floor with epoxy coating resists clay splatters and simplifies hose cleanup in your pottery studio.
Double doors at least 36 inches wide make moving potter’s wheels or heavy clay bins easy. Dust collection keeps stoneware clay particles from lingering, protecting your health in the pottery studio. Vapor-proof LED lighting ensures clear visibility for trimming leather-hard pots or detailed sgraffito work.
Here are the 7 must-have features for any pottery studio shed, with practical specs to guide your build or upgrade.
- 220V/50amp kiln circuit with NEMA 6-50R outlet for reliable electric kiln power in your pottery kiln room.
- Kiln vent fan like L&L Easy-Fire vent ($300) for safe pottery ventilation during firing schedules.
- Concrete floor with epoxy coating ($4/sqft) for a non-slip surface ideal for wedging tables and cleanup.
- 36″ double doors for easy access with electric pottery wheels or pug mills in the wheel throwing shed.
- Dust collection: Shop-Vac 16-gal wet/dry ($120) to manage clay dust from throwing tools or slab rollers.
- LED vapor-proof lighting (4x 5000K fixtures) for task lighting over glazing stations and drying shelves.
- Fire extinguisher (ABC 10lb rated for electrical fires) essential for kiln safety in the potter’s shed.
Electrical planning matters: a kiln at 12,000W plus lights and tools at 2,000W totals 14kW service needed. This setup powers your outdoor pottery studio efficiently. Experts recommend consulting a licensed electrician for shed electricity to avoid overloads during peak use like glaze mixing or multiple firings. A pottery studio dedicated circuit for the kiln is essential.
How to ventilate and insulate a pottery shed?
Proper ventilation removes kiln fumes while R-19 insulation maintains steady temperatures for consistent clay drying in your pottery shed. Good airflow prevents buildup of clay dust and gases during firing. Insulation keeps the pottery studio comfortable year-round.
Follow OSHA clay dust standards by keeping exposure under 0.5mg/m. Use a 50 pint/day dehumidifier for a 200sqft clay studio. This setup controls humidity for even drying of stoneware clay or porcelain clay.
Install intake vents low and exhaust high for natural convection in your backyard pottery studio. This pulls fresh air across the workspace and out through the roof. Pair it with fans for better pottery ventilation.
Combine ventilation with insulation for a safe kiln shed. Rockwool at R-19 for walls and R-30 for the attic blocks heat loss. This creates an efficient outdoor pottery studio ready for wheel throwing or glazing.
| Ventilation Method | CFM | Cost | Best For |
|---|---|---|---|
| L&L Kiln Vent | 100 CFM | $325 | Fume extraction |
| iPower 6″ inline fan | 440 CFM | $89 | Dust control |
| Broan window exhaust | 70 CFM | $120 | Budget option |
Ventilation Setup for Safety
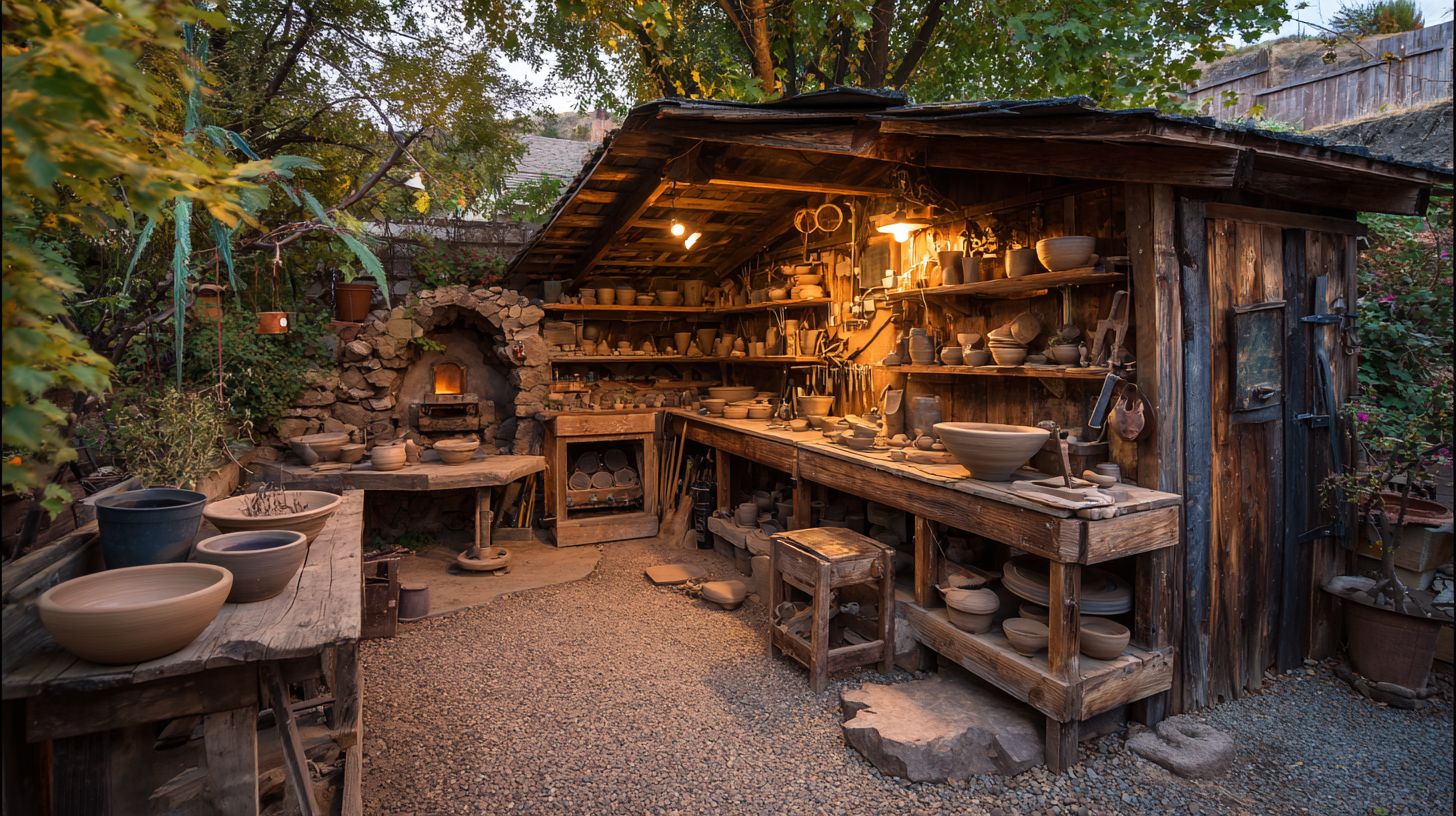
Set up exhaust fans high on walls or ceilings in your ceramics shed. Place intake vents near the floor to draw in cool air. This flow removes pottery kiln gases effectively during bisque firing or glaze firing. Your pottery studio will stay safe and breathable.
Choose fans based on your needs in the pottery workshop. The L&L Kiln Vent targets fumes from electric kilns. An iPower inline fan handles heavy dust from wedging or trimming greenware.
Add a clay dust mask and dust collection for trimming tools or slab roller use. Run the dehumidifier daily to manage moisture from earthenware clay. Test airflow with smoke to ensure it meets safety needs.
For a wheel throwing shed, position the Broan exhaust near windows for easy install. This keeps air fresh during long sessions at the potter’s wheel. Monitor with a particle counter for OSHA compliance. A pottery studio air quality monitor is a wise investment.
Insulation Choices for Comfort
Use R-19 rockwool for walls at about $1.20 per sqft in your pottery making shed. It resists fire and sound, ideal near a gas kiln or raku kiln. Staple it between studs before adding drywall. This insulation is a key component of a pottery studio.
Opt for R-30 rockwool in the attic at $1.50 per sqft to trap heat. This maintains 70 degreesF inside despite outdoor cold in a garden pottery shed. It supports steady drying on pottery shelves. A pottery studio insulation plan should include the attic.
Seal gaps with foam to boost efficiency in the clay workspace. Add rigid foam boards under siding for extra protection. This setup works well for a prefab shed conversion.
Pair insulation with shed heating like a space heater for winter throwing. Control costs by insulating doors and windows too. Your potter’s shed stays workable for handbuilding or glazing year-round. A pottery studio heater should be rated for workshop use.
Are there custom pottery sheds available?
Yes-local builders create kiln-ready sheds with concrete floors, 220V wiring, ventilation hoods, and custom shelving starting at $150/sqft. These pottery studio sheds turn backyard spaces into functional pottery studios. Potters gain dedicated areas for wheel throwing and glazing.
Customization ensures your potter’s shed fits needs like slab rollers and drying shelves. Builds take 3-5 weeks. One case study features Lisa’s 14×18 custom shed with a raku pit, boosting her Etsy production threefold. A pottery studio custom build can also include a sink.
Customization Checklist for Pottery Sheds
Use this checklist to plan your pottery studio ceramics shed. Start with essentials for safe pottery work. Confirm each item matches your pottery tools and workflow.
- Kiln alcove size for electric kiln or gas kiln?
- Consider a pottery shed kit for easy assembly.
- Glaze washout sink with floor drain for easy cleanup?
- Rolling door for slab roller access?
- 220V outlets for potter’s wheel and kiln power?
- Ventilation hood and dust collection for clay dust safety?
Address pottery humidity control with dehumidifiers. Add LED shop lights for task lighting over wedging tables. These steps create a practical clay workspace.
Ensure proper kiln ventilation to maintain air quality and safety in your pottery shed.
What storage solutions work best in pottery sheds?
Heavy-duty steel shelving, sealed clay bins, and magnetic tool boards keep greenware dust-free and tools accessible. In a pottery shed, efficient storage protects earthenware clay from moisture and organizes pottery tools for quick access during wheel throwing sessions. This setup saves time and reduces frustration in your clay workspace.
Incorporate a dedicated clay recycling station to manage scraps and reclaim clay efficiently.
Choose solutions that handle the weight of kiln shelves and plywood bats while fitting the compact space of a backyard pottery shed. Wall-mounted options maximize floor area for your potter’s wheel and wedging table. Experts recommend stacking systems that allow air circulation to prevent mold on stoneware clay.
Install a pottery wheel stand to keep your wheel stable and at a comfortable working height.
Below is a table of top storage solutions for pottery sheds, selected for durability and relevance to common needs like clay storage and glaze organization.
For a complete setup, consider a clay drying rack to speed up the drying process for your pottery pieces.
| Solution | Price | Key Features | Best For |
|---|---|---|---|
| Husky 46″ Welded Frame Shelving | $130 | 2,000lb/shelf | Kiln shelves |
| Rubbermaid 33-gal Roughneck Totes | $18ea | Sealed lids | Clay storage |
| Pegboard + pottery tool hooks | $45 | Customizable | Ribs, calipers |
| Plywheel bats on wall rack | $60 | Holds 12 bats | Wheel bats |
| Glaze organizer: Akro-Mils bins | $35 | 24 jars | Glaze jars |
A pro tip for any pottery workshop: Use a label maker like the Brother P-Touch ($40) to mark bins clearly. This prevents mixups with porcelain clay versus air dry clay and keeps your glazing station orderly during busy firing schedules.
Protect your equipment with a kiln cover to shield it from dust and moisture when not in use.
Ideal Layout for Pottery Shed Storage
Arrange your pottery shed with perimeter shelving along walls to store drying shelves and clay bins efficiently. Place a sturdy center worktable for trimming greenware and handle pulling. This layout supports smooth workflow in a wheel throwing shed.
Set up a clay pug mill to recycle and homogenize your clay for consistent throwing.
Add overhead kiln storage above the work area to keep electric kiln accessories dust-free yet reachable. Include pegboard panels near the potter’s wheel for throwing tools like ribs and needle tools. Such organization enhances safety in your kiln shed.
Invest in a pottery wheel bat system to speed up production and make removing pots easier.
For visual clarity, picture walls lined with heavy-duty shelves holding totes of leather hard clay and glaze jars. The center table doubles as a wedging surface with canvas boards. Overhead racks secure bats and slump molds, freeing floor space for a pug mill or slab roller.
Add a clay storage rack to organize bags of clay by type and keep them off the floor.
Incorporate shed ventilation near storage zones to manage clay dust. A simple diagram: shelves on all four walls, table in middle, kiln platform elevated with overhead bins. This setup works well for home pottery studio conversions.
Consider adding a ventilation system with an exhaust fan to improve air circulation and remove fumes.
Frequently Asked Questions
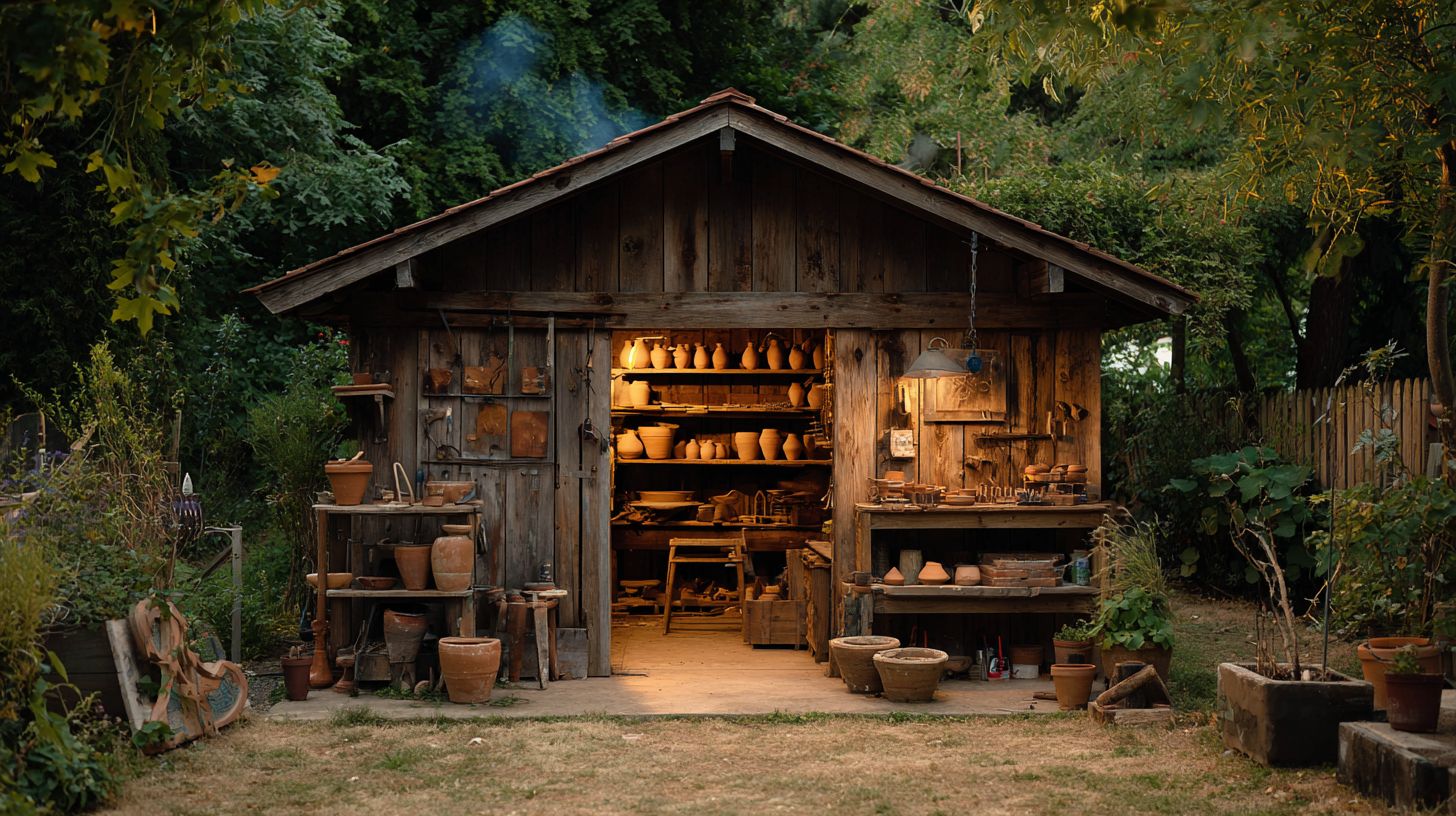
What are pottery sheds and why are they useful?
Pottery sheds are dedicated outdoor or semi-outdoor structures designed specifically for pottery work, providing a contained space for activities like throwing clay on a wheel, glazing, and firing small kilns. They are useful for keeping mess contained, protecting equipment from weather, and offering a creative retreat away from the main home.
Equip your pottery shed with a pottery work table to provide a sturdy surface for handbuilding and glazing.
How do I choose the right size for pottery sheds?
When selecting pottery sheds, consider your equipment such as potters wheels, kilns, and storage needs. A minimum of 10×10 feet is ideal for beginners, while larger 12×16 feet pottery sheds accommodate professional setups, ensuring ample room for workflow and safety clearances around heat sources.
For efficient clay management, include a clay recycling bin to collect scraps for reuse.
What materials are best for building pottery sheds?
Pottery sheds should use durable, weather-resistant materials like treated wood, metal siding, or insulated panels to withstand humidity and clay dust. Ventilation is key, so incorporate windows, vents, or exhaust fans; concrete floors are recommended for easy cleaning in pottery sheds.
Install a clay trap in your sink to prevent clay particles from clogging plumbing.
Do pottery sheds require special ventilation?
Yes, pottery sheds need excellent ventilation to handle clay dust, fumes from glazes, and kiln exhaust. Install dust collection systems, exhaust hoods over work areas, and ensure cross-breezes; this prevents health issues and maintains air quality within pottery sheds.
Consider a kiln vent system to directly remove fumes and heat from the kiln area.
How much does it cost to set up a pottery shed?
Costs for pottery sheds vary from $2,000 for DIY kits to $10,000+ for custom builds with electricity, plumbing, and kiln installation. Factor in shelving, workbenches, and tools; pre-made pottery sheds can save time and ensure code compliance.
Include a pottery wheel with a splash pan to contain water and clay splatter during throwing.
Can I insulate pottery sheds for year-round use?
Absolutely, insulating pottery sheds with foam boards, fiberglass, or spray foam keeps them comfortable in all seasons. Add heating for winter and cooling for summer, plus moisture control to prevent mold from damp clay; this makes pottery sheds a versatile studio space.
Use a dehumidifier to control humidity and protect your clay and tools from moisture damage.